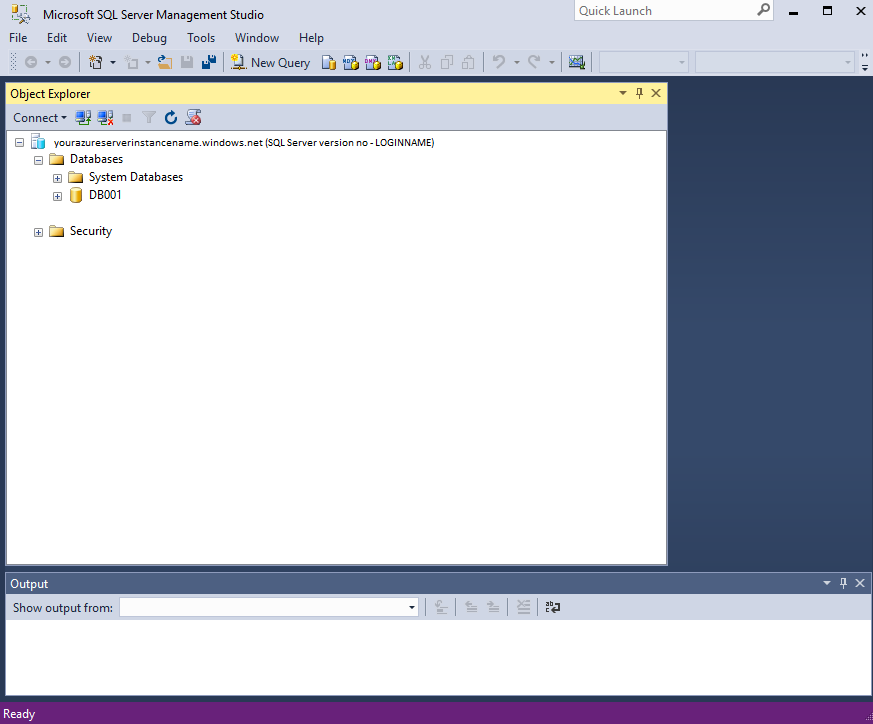
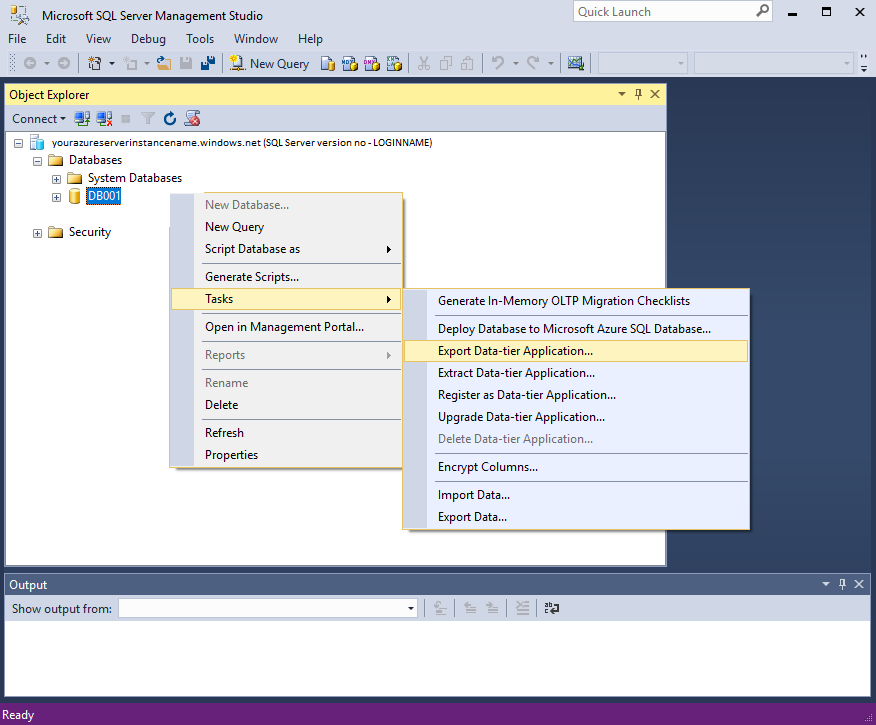
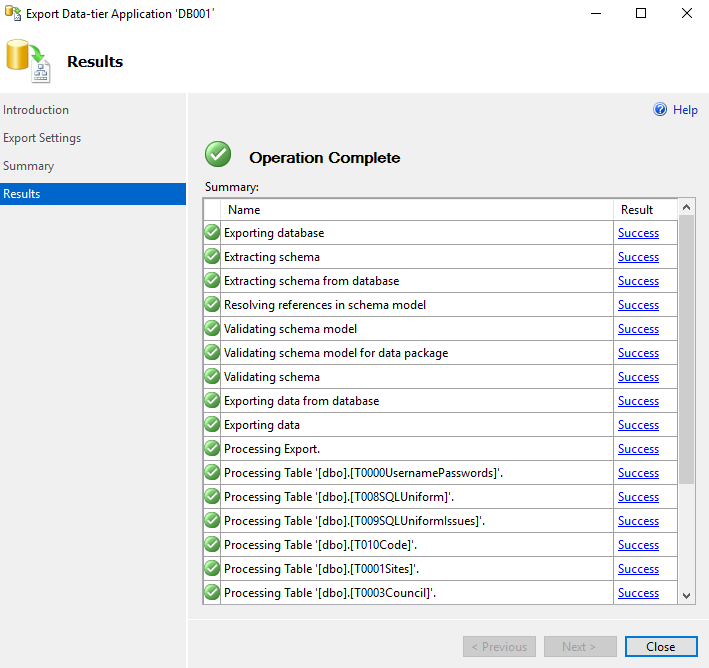
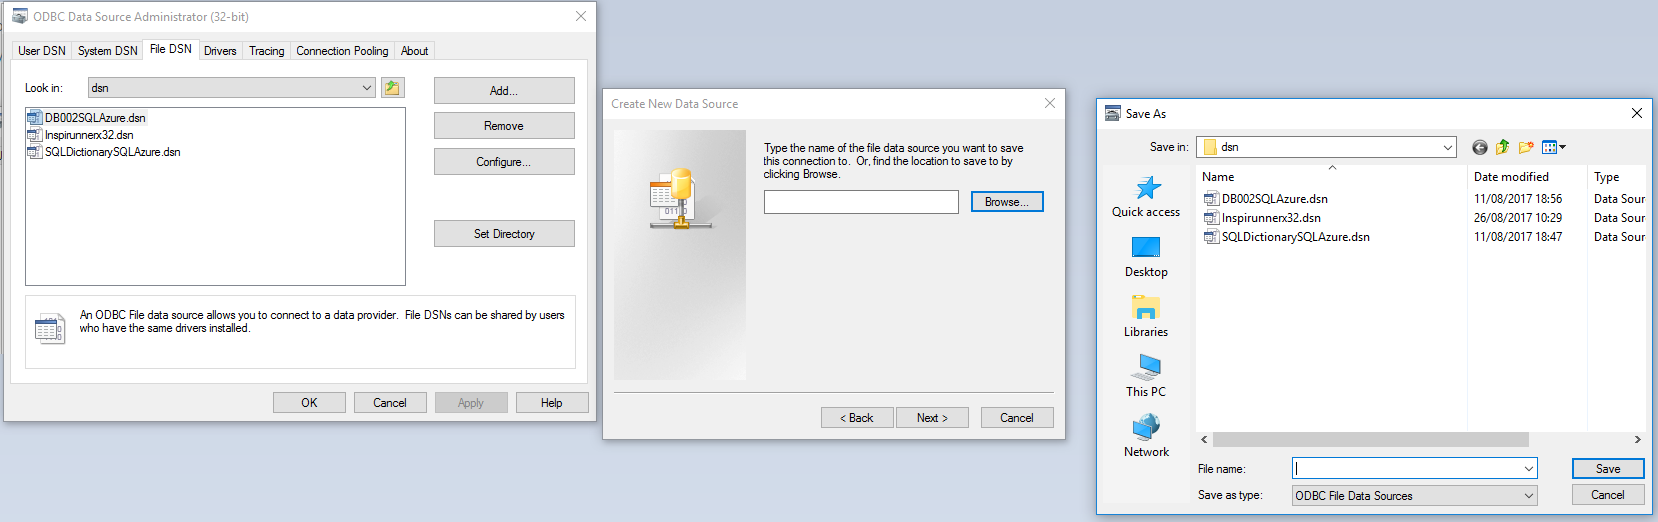
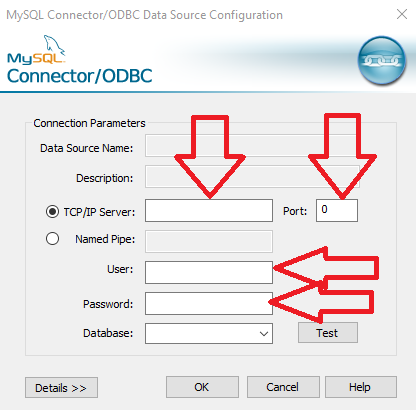
The first thing you need to get sorted when moving to SQL Azure is having the ability to get your information out and safe if needs be. When experimenting with MS Azure and for applications that don’t have sensitive information it is nice to have that information available in an easily accessible format. Here are a series of functions that will copy Azure Tables linked to database into local MS Access tables with the prefix ZCOPY.
The starting point in this should be an MS Access database that should be linked to your SQL Azure Database. Only those tables that are linked will be copied. Remember the 2GB limit on Access.
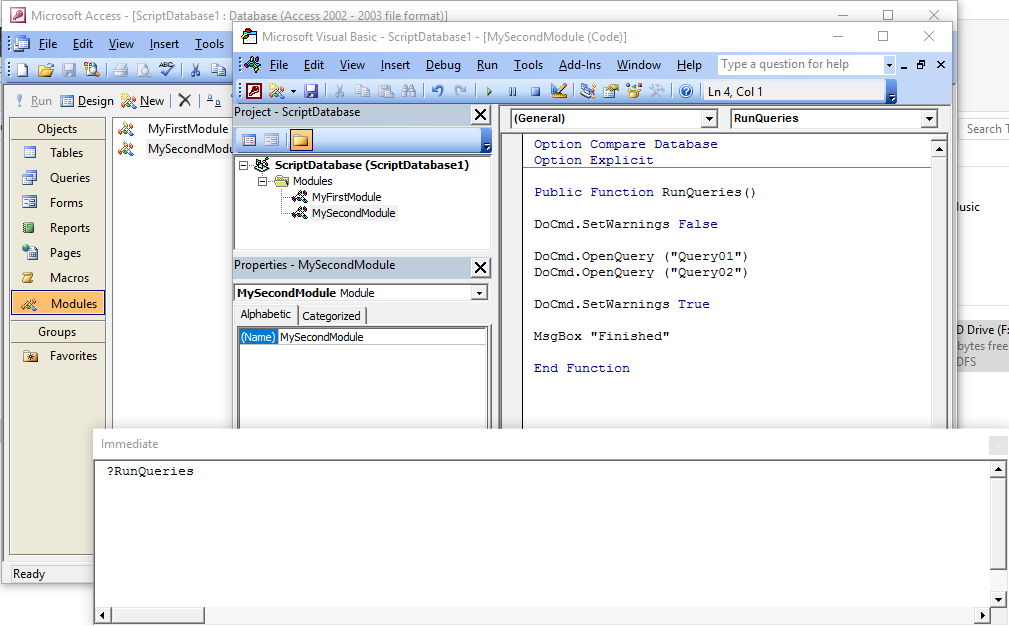
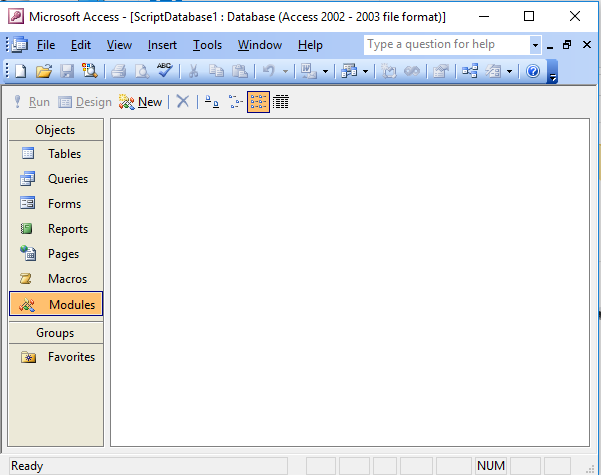
I think I have got all the functions here that are required to make it work and include the complete module at the bottom but first I will breakdown the modules and list describe what each of the functions do.
First create a table to store the list of tables in the Azure Database
Public Function CreateTableT0001AzureTablesGlobal()

     Dim dbs As Database
     Set dbs = CurrentDb

        dbs.Execute "CREATE TABLE T0001AzureTablesGlobal " _
        & "(PKID AUTOINCREMENT, " _
        & "AzureTableName CHAR CONSTRAINT PKID " _
        & "PRIMARY KEY);"

End Function
Now Create a Function that will hold the SQL that takes the tables and makes them locally.
Public Function CreateTableT0002SQL()

     Dim dbs As Database
     Set dbs = CurrentDb

        dbs.Execute "CREATE TABLE T0002SQL " _
        & "(PKID AUTOINCREMENT, " _
        & "SQL MEMO CONSTRAINT PKID " _
        & "PRIMARY KEY);"


End Function
A function that allows for stepping through the table
Public Function AddByteColumn(TblName As String, FieldName As String)
'Just use byte data type as only going to use this for a flag

DoCmd.RunSQL "AlTER TABLE [" & TblName & "] ADD COLUMN " & FieldName & " BYTE;"

End Function
Step through the Linked Azure Tables and poupulate table T001 with their names
Public Function CreateandPopulateListofDBOTableNames()

'These will typically be the names of the SQL Server tables this should work both with SQL Server and SQL Azure

Dim db As DAO.Database
Dim tdf As DAO.TableDef
Dim rstList As DAO.Recordset

'Call CreateTableT0001AzureTablesGlobal

Set rstList = CurrentDb.OpenRecordset("T0001AzureTablesGlobal")
Set db = CurrentDb

For Each tdf In db.TableDefs
    ' ignore system and temporary tables and tables starting with T - personal choice option
    If Not (tdf.Name Like "MSys*" Or tdf.Name Like "~*" Or tdf.Name Like "T*") Then
       With rstList
       .AddNew
       rstList!AzureTableName = tdf.Name
       rstList.Update
      End With
    End If

Next

Set tdf = Nothing
Set db = Nothing

End Function
The next function is required to strip out additional spaces in names
Public Function FindXReplaceY(FixTable As String, FixColumn As String, X As String, Y As String) As Variant

Dim strSQL As String

strSQL = "UPDATE [" & FixTable & "] SET [" & FixTable & "].[" & FixColumn & "] = REPLACE([" & FixColumn & "]," & Chr$(34) & X & Chr$(34) & "," & Chr$(34) & Y & """);"

DoCmd.RunSQL strSQL

End Function
We can now write the VBA that will write the make table SQL that once run will put one make table query into the maketableSQL table for each Azure table.
Public Function CreateMakeTableSQL()

On Error GoTo Err_CreateMakeTableSQL
Dim rstSQL As DAO.Recordset
Dim rstSQLx As DAO.Recordset
Dim dbc As DAO.Database
Dim SQLStringAdd As String
Dim LCounter As Long

Set dbc = CurrentDb

LCounter = 1
While LCounter < 9000
LCounter = LCounter + 1
Set rstSQL = CurrentDb.OpenRecordset("SELECT T0001AzureTablesGlobal.PKID, T0001AzureTablesGlobal.AzureTableName, T0001AzureTablesGlobal.XFLag1 FROM T0001AzureTablesGlobal WHERE (((T0001AzureTablesGlobal.XFLag1) Is Null));")

SQLStringAdd = "SELECT * INTO COPY" & rstSQL!AzureTableName & " FROM " & rstSQL!AzureTableName & ";"

Set rstSQLx = CurrentDb.OpenRecordset("T0002SQL")
With rstSQLx
.AddNew
rstSQLx!SQL = SQLStringAdd
rstSQLx.Update
rstSQLx.Close
End With

With rstSQL
rstSQL.Edit
rstSQL!XFLag1 = 1
rstSQL.Update
rstSQL.MoveNext
rstSQL.Close
End With

Wend

Exit_CreateMakeTableSQL:
    Exit Function

Err_CreateMakeTableSQL:
Select Case Err.Number
 Case 3021
   Resume Exit_CreateMakeTableSQL
  Case Else
  Resume Exit_CreateMakeTableSQL
  End Select

End Function
And finally Run all the queries
Public Function RunQueriesFromTable2(SQLSource As String)

DoCmd.SetWarnings False

Dim StartTime As Date
Dim EndTime As Date
Dim rstZ As DAO.Recordset
Dim strSQL2 As String

StartTime = Now()

Set rstZ = CurrentDb.OpenRecordset(SQLSource)

Do Until rstZ.EOF

strSQL2 = rstZ!SQL
DoCmd.RunSQL strSQL2
rstZ.MoveNext

Loop

DoCmd.SetWarnings True

EndTime = Now()

MsgBox "Finished ALL SQL queries! Process started at " & StartTime & " and finished at " & EndTime

End Function
And a script to pull all of this together
Public Function GetAzureScript()

DoCmd.SetWarnings False
Call CreateTableT0001AzureTablesGlobal
Call CreateandPopulateListofDBOTableNames
Call FindXReplaceY("T0001AzureTablesGlobal", "AzureTablename", " ", "")
Call FindXReplaceY("T0001AzureTablesGlobal", "AzureTablename", Chr(10), "")
Call AddByteColumn("T0001AzureTablesGlobal", "XFLag1")
Call CreateTableT0002SQL
Call CreateMakeTableSQL
Call FindXReplaceY("T0002SQL", "SQL", " ", "")
Call FindXReplaceY("T0002SQL", "SQL", Chr(10), "")
Call FindXReplaceY("T0002SQL", "SQL", "SELECT*INTOCOPY", "SELECT * INTO ZCOPY")
Call FindXReplaceY("T0002SQL", "SQL", "FROM", " FROM ")
Call RunQueriesFromTable("T0002SQL")
DoCmd.SetWarnings True

End Function
The complete module
Option Compare Database
Option Explicit

Public Function GetAzureScript()

DoCmd.SetWarnings False
Call CreateTableT0001AzureTablesGlobal
Call CreateandPopulateListofDBOTableNames
Call FindXReplaceY("T0001AzureTablesGlobal", "AzureTablename", " ", "")
Call FindXReplaceY("T0001AzureTablesGlobal", "AzureTablename", Chr(10), "")
Call AddByteColumn("T0001AzureTablesGlobal", "XFLag1")
Call CreateTableT0002SQL
Call CreateMakeTableSQL
Call FindXReplaceY("T0002SQL", "SQL", " ", "")
Call FindXReplaceY("T0002SQL", "SQL", Chr(10), "")
Call FindXReplaceY("T0002SQL", "SQL", "SELECT*INTOCOPY", "SELECT * INTO ZCOPY")
Call FindXReplaceY("T0002SQL", "SQL", "FROM", " FROM ")
Call RunQueriesFromTable2("T0002SQL")
DoCmd.SetWarnings True

End Function

Public Function CreateandPopulateListofDBOTableNames()

'These will typically be the names of the SQL Server tables this should work both with SQL Server and SQL Azure

Dim db As DAO.Database
Dim tdf As DAO.TableDef
Dim rstList As DAO.Recordset

'Call CreateTableT0001AzureTablesGlobal

Set rstList = CurrentDb.OpenRecordset("T0001AzureTablesGlobal")
Set db = CurrentDb

For Each tdf In db.TableDefs
    ' ignore system and temporary tables and tables starting with T - personal choice option
    If Not (tdf.Name Like "MSys*" Or tdf.Name Like "~*" Or tdf.Name Like "T*") Then
       With rstList
       .AddNew
       rstList!AzureTableName = tdf.Name
       rstList.Update
      End With
    End If

Next

Set tdf = Nothing
Set db = Nothing

End Function

Public Function FindXReplaceY(FixTable As String, FixColumn As String, X As String, Y As String) As Variant

Dim strSQL As String

strSQL = "UPDATE [" & FixTable & "] SET [" & FixTable & "].[" & FixColumn & "] = REPLACE([" & FixColumn & "]," & Chr$(34) & X & Chr$(34) & "," & Chr$(34) & Y & """);"

DoCmd.RunSQL strSQL

End Function

Public Function CreateTableT0001AzureTablesGlobal()

     Dim dbs As Database
     Set dbs = CurrentDb

        dbs.Execute "CREATE TABLE T0001AzureTablesGlobal " _
        & "(PKID AUTOINCREMENT, " _
        & "AzureTableName CHAR CONSTRAINT PKID " _
        & "PRIMARY KEY);"


End Function

Public Function CreateTableT0002SQL()

     Dim dbs As Database
     Set dbs = CurrentDb

        dbs.Execute "CREATE TABLE T0002SQL " _
        & "(PKID AUTOINCREMENT, " _
        & "SQL MEMO CONSTRAINT PKID " _
        & "PRIMARY KEY);"


End Function

Public Function AddByteColumn(TblName As String, FieldName As String)
'Just use byte data type as only going to use this for a flag

DoCmd.RunSQL "AlTER TABLE [" & TblName & "] ADD COLUMN " & FieldName & " BYTE;"

End Function

Public Function CreateMakeTableSQL()

On Error GoTo Err_CreateMakeTableSQL
Dim rstSQL As DAO.Recordset
Dim rstSQLx As DAO.Recordset
Dim dbc As DAO.Database
Dim SQLStringAdd As String
Dim LCounter As Long

Set dbc = CurrentDb

LCounter = 1
While LCounter < 9000
LCounter = LCounter + 1
Set rstSQL = CurrentDb.OpenRecordset("SELECT T0001AzureTablesGlobal.PKID, T0001AzureTablesGlobal.AzureTableName, T0001AzureTablesGlobal.XFLag1 FROM T0001AzureTablesGlobal WHERE (((T0001AzureTablesGlobal.XFLag1) Is Null));")
SQLStringAdd = "SELECT * INTO COPY" & rstSQL!AzureTableName & " FROM " & rstSQL!AzureTableName & ";"

Set rstSQLx = CurrentDb.OpenRecordset("T0002SQL")
With rstSQLx
.AddNew
rstSQLx!SQL = SQLStringAdd
rstSQLx.Update
rstSQLx.Close
End With

With rstSQL
rstSQL.Edit
rstSQL!XFLag1 = 1
rstSQL.Update
rstSQL.MoveNext
rstSQL.Close
End With

Wend

Exit_CreateMakeTableSQL:
    Exit Function

Err_CreateMakeTableSQL:
Select Case Err.Number
 Case 3021
   Resume Exit_CreateMakeTableSQL
  Case Else
  Resume Exit_CreateMakeTableSQL
  End Select

End Function

Public Function RunQueriesFromTable2(SQLSource As String)

DoCmd.SetWarnings False

Dim StartTime As Date
Dim EndTime As Date
Dim rstZ As DAO.Recordset
Dim strSQL2 As String

StartTime = Now()

Set rstZ = CurrentDb.OpenRecordset(SQLSource)

Do Until rstZ.EOF

strSQL2 = rstZ!SQL
DoCmd.RunSQL strSQL2
rstZ.MoveNext

Loop

DoCmd.SetWarnings True

EndTime = Now()

MsgBox "Finished ALL SQL queries! Process started at " & StartTime & " and finished at " & EndTime

End Function