As always I try to understand what drives success and failure in systems within organisations in the hope that it may allow me to understand where, when and how I should make effort to really make a difference in driving development. I wanted to take a step back and look more widely at transformation and see if there was a pattern that might be generally applicable and which I might be missing or I might be underappreciating and could form the strategic basis in moving processes forward in any situation.
The journey from ancient record-keeping to modern cloud architectures follows a pattern that after consideration looks to approximate technology trees in video games.
Civilisations don’t wake up one day and say, “Let’s invent databases.” They solve immediate problems using the tools available at the time, and each solution quietly unlocks the pre-requisites for the next. Over time, these incremental steps form a path that can still be seen in processes and organisations today. Below I lay out that path right from medieval times (although there is a before step that involves the language creation and then literature and universal education). It has important implications for process implementation within organisations today. Particularly 2 points
1) Not all sections within an organisation may be at the same stage
2) You cannot skip a tier you need to complete that tier before moving on to the next level.
Importantly you can almost guarantee that if a section or organisation is at a level they will be experiencing very predictable and similar problems. It is also why when you are in a meeting discussing transformation one section can be very pleased about a suggestion and another extremely worried. One may be ready for the next step while the other isn’t.
So the journey I lay out here is from the written word to web accessible databases but lets break it down.
🪵 Tier 1: Physical Records — The Dawn of Organisational Memory – Clay Tablets of Mesopotamia
Value:
The first administrative systems
Features:
This tier is about capturing information. Most early organisations — temples, city-states, guilds — stored what mattered where it physically happened. It is also clear that generalised education that teaches reading and writing is a pre-requisite.
But physical media has predictable constraints:
These constraints create pressure for the next unlock.
📄 Tier 2: Industrial Paper Systems — Bureaucracy as Technology
Value:
The start of standardisation of processes allows optimisation of process and users to learn procedures.
Features:
Once institutions scaled (banks, insurance, public authorities), paper became its own ecosystem. Entire professions grew around organising it.
But again, friction accumulates:
The solution wasn’t digitisation yet — it was mechanisation: punch cards, microfilm, early typewriting pools. These were transitional “minor techs” that set the stage for the next leap.
💾 Tier 3: Digital Files — Information Without Geography
Value:
Transfer of data at effectively zero cost
Features:
This tier feels modern because it still dominates everyday work. But digital files mainly replicate paper’s logic:
It still involves
It’s the same mental model — just running faster.
Still, once organisations reach a certain size, digital files reveal their limits:
In particular often these files are only accessible by one person at one time.
Additionally finding information is incredibly difficult.
These questions unlock the next tier.
🗄️ Tier 4: Databases — Structured Truth
Value:
Unlimited access to a single source of truth by essentially a limited no of actors – (usually those on the same network with the same installed software).
Features:
The database tier represents the moment information stops being “documents” and becomes structured knowledge.
Instead of stacks of files, you get:
Once you hit this level, the organisation’s memory becomes machine-readable instead of human-readable. In certain circumstances the distribution of these systems can be quite wide but usually limited to a local area network.
And that unlocks the next big thing.
🌐 Tier 5: Databases With Web Access — Web Accessible Structured Truth
Value:
Often the database structure and information need not change and importantly the Web UI can either replace or be in addition to the existing UI.
Features:
This is where most modern digital transformation efforts sit:
Moving from “a database in a room” to “a platform accessible across the web”
This tier interestingly is in principle similar to Tier 4 i.e networking of a database. Interestigly by using the web as an interface the world standardised on a client opening the way forward for client portals and allowing for unlimited scaling of access to the databases. As such web uis offers true worldwide access to databases on mobile and desktop devices allowing organisations, their customers and their employees to be coordinated from anywhere in the world from nearly all devices and allowing systems and numbers to scale almost infinitely for very little cost.
It’s the first point where the system becomes alive.
🌱 This Technology Pattern is Emergent and people instinctually see parts of it. There are armies of individuals who have tried to take paper sheets and create excel spreadsheets employees will do this without being told because the value is evident.
The important points are
You CANNOT skip a Tier
You can’t go from papyrus to APIs without unlocking the intermediate technology (literacy, filing systems, computing, data modelling).
And once a tier is unlocked that tier must be maintained, organisations feel the tension that pushes them toward the next:
Every stage solves the previous stage’s bottleneck while generating new ones that only future tiers can handle.
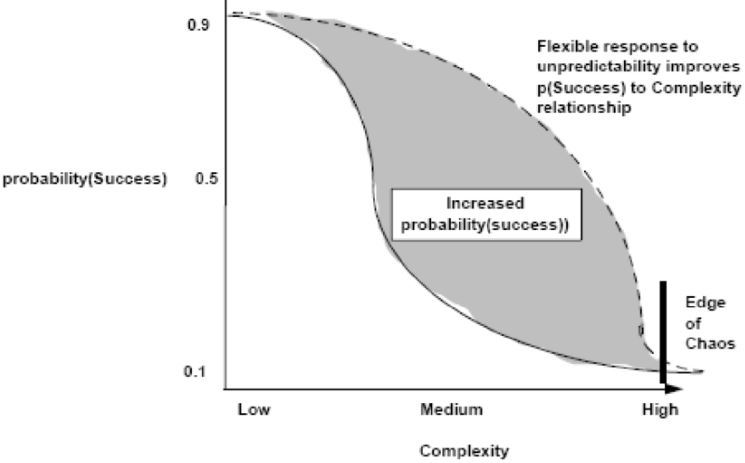
That’s why digital transformation often feels both chaotic and inevitable.
It’s not just technology — it’s organisational evolution.
🧠 The Hidden Lesson
If you understand your organisation’s place on this tech tree, you can predict:
What problems you’re supposed to be having?
What capabilities you’re ready to unlock?
What investments will compound rather than stall?
Digital transformation works best when you recognise it as the next natural step in a centuries-long lineage of humans trying to remember things better.
We’re still following the same path the Sumerians started — we’re just moving much faster and there might be a lifetime of work moving from digital files to web UI databases.
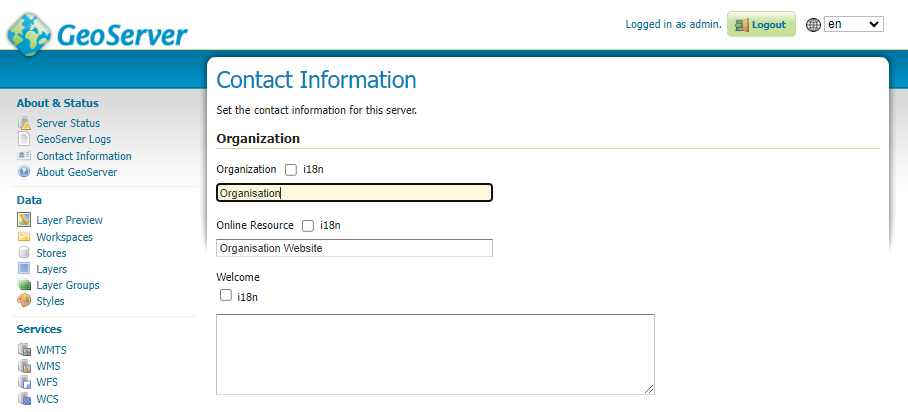
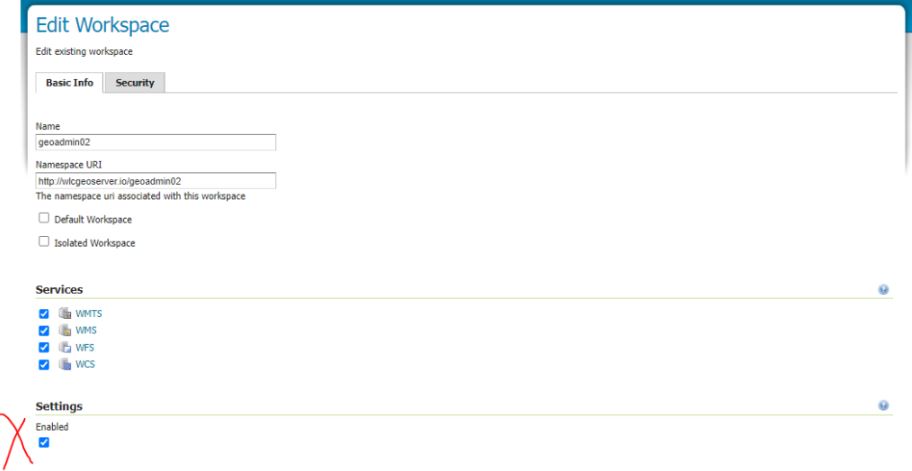
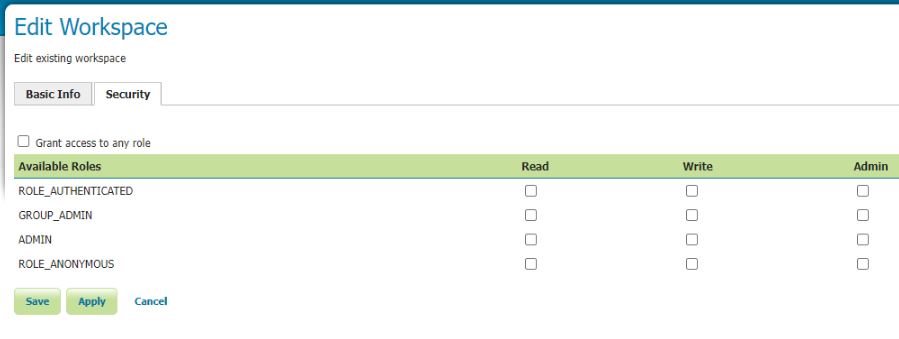
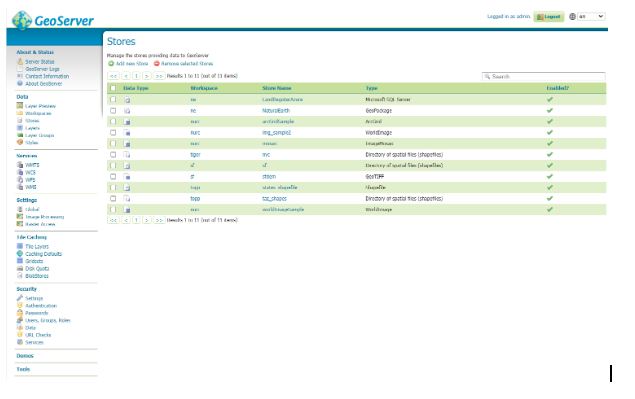
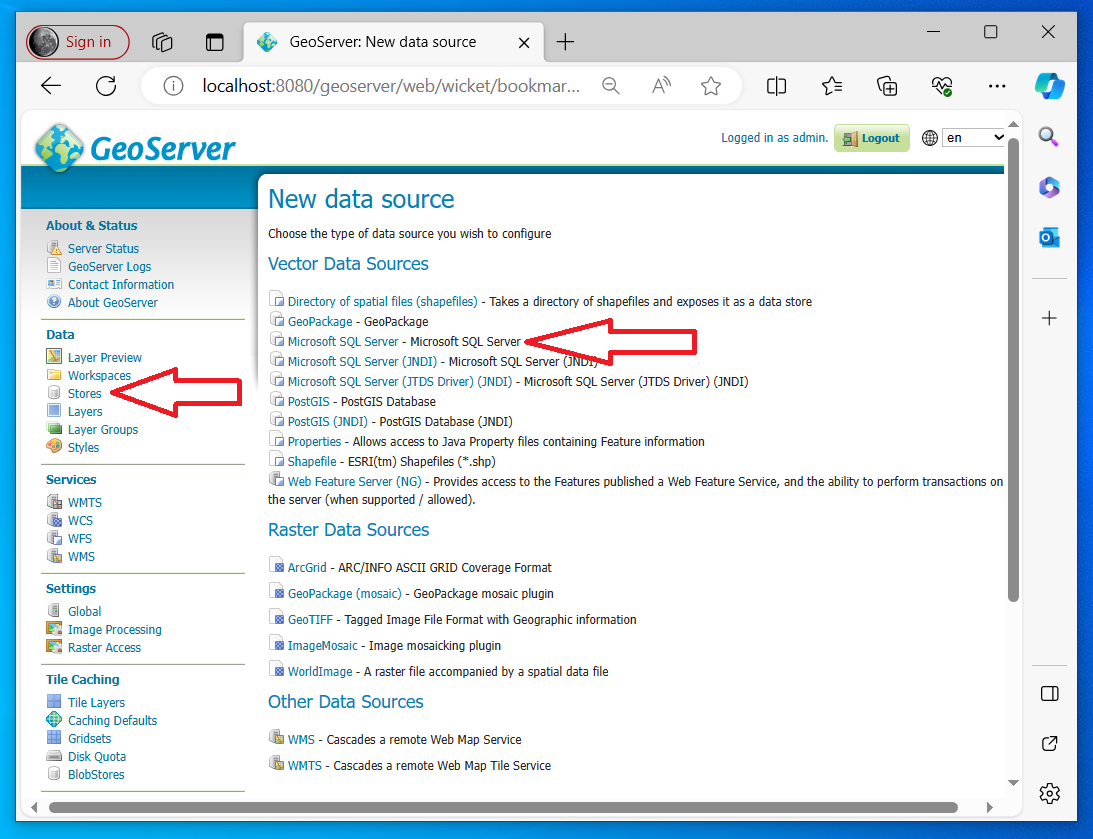
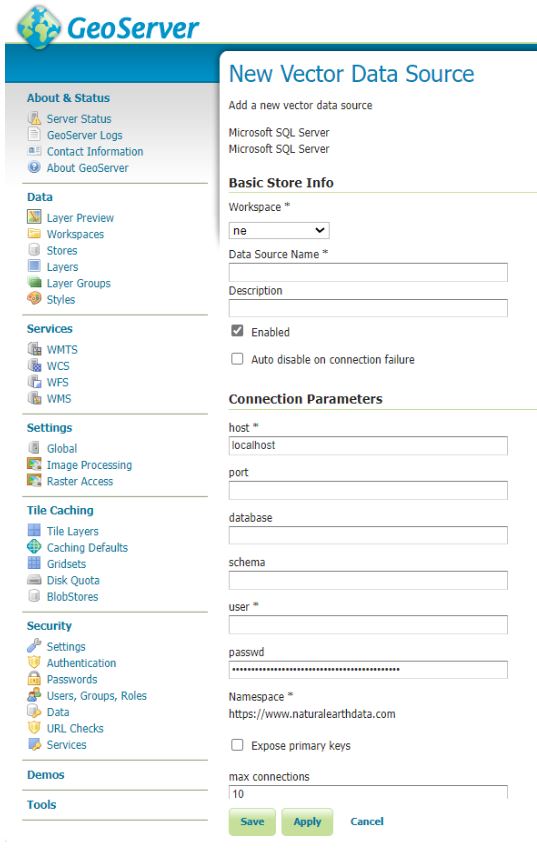
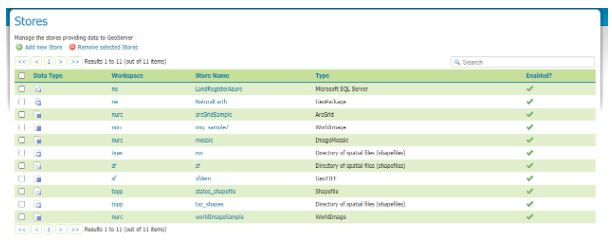
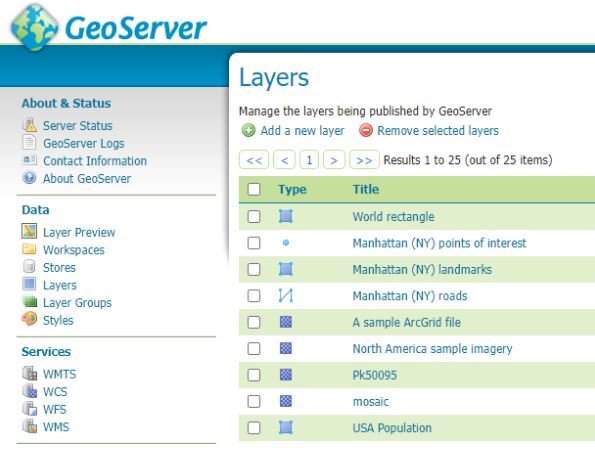
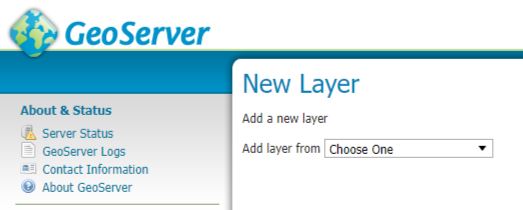
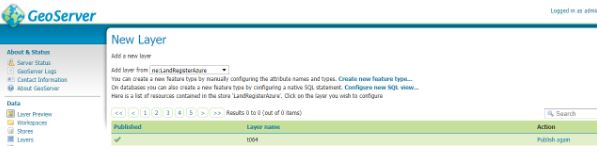
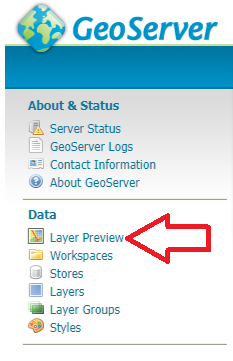
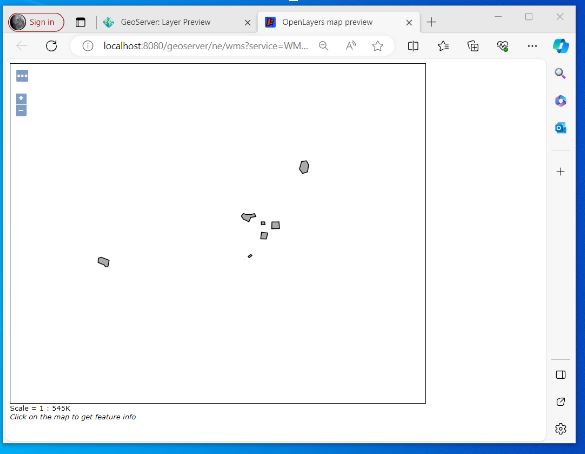
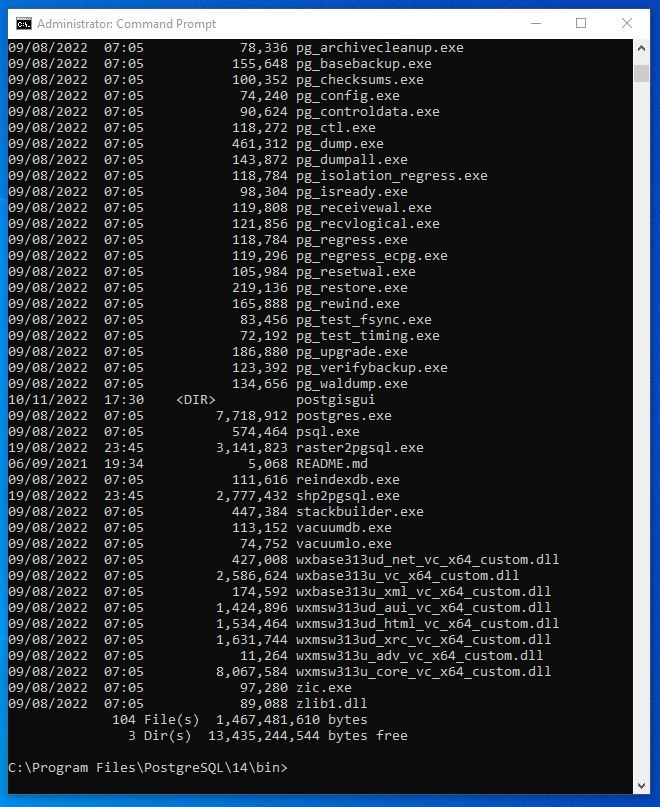
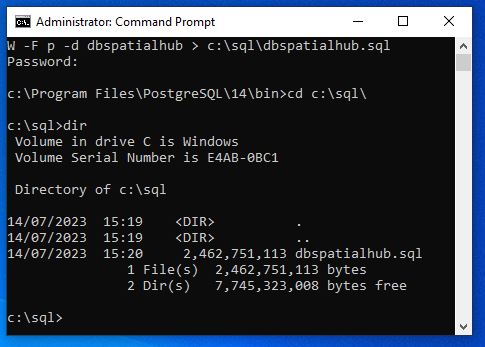
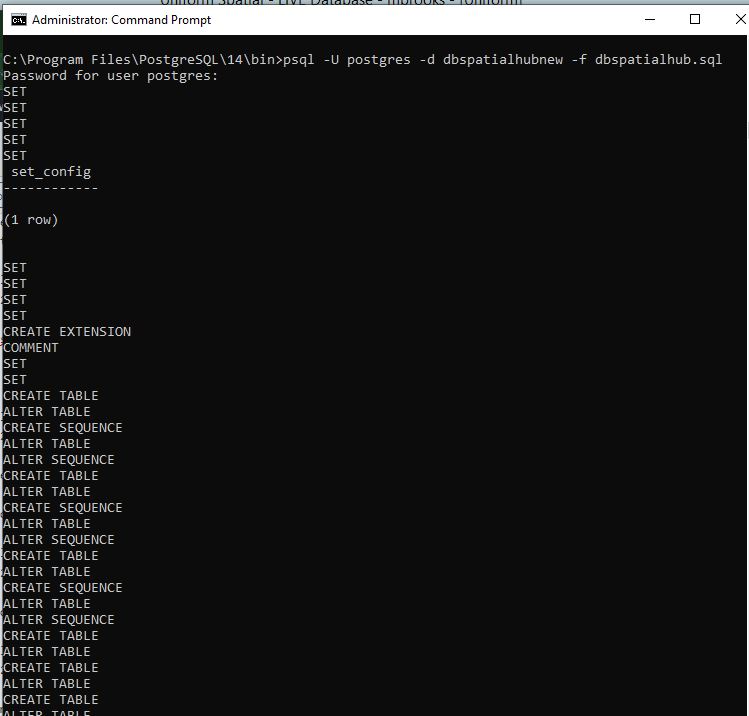
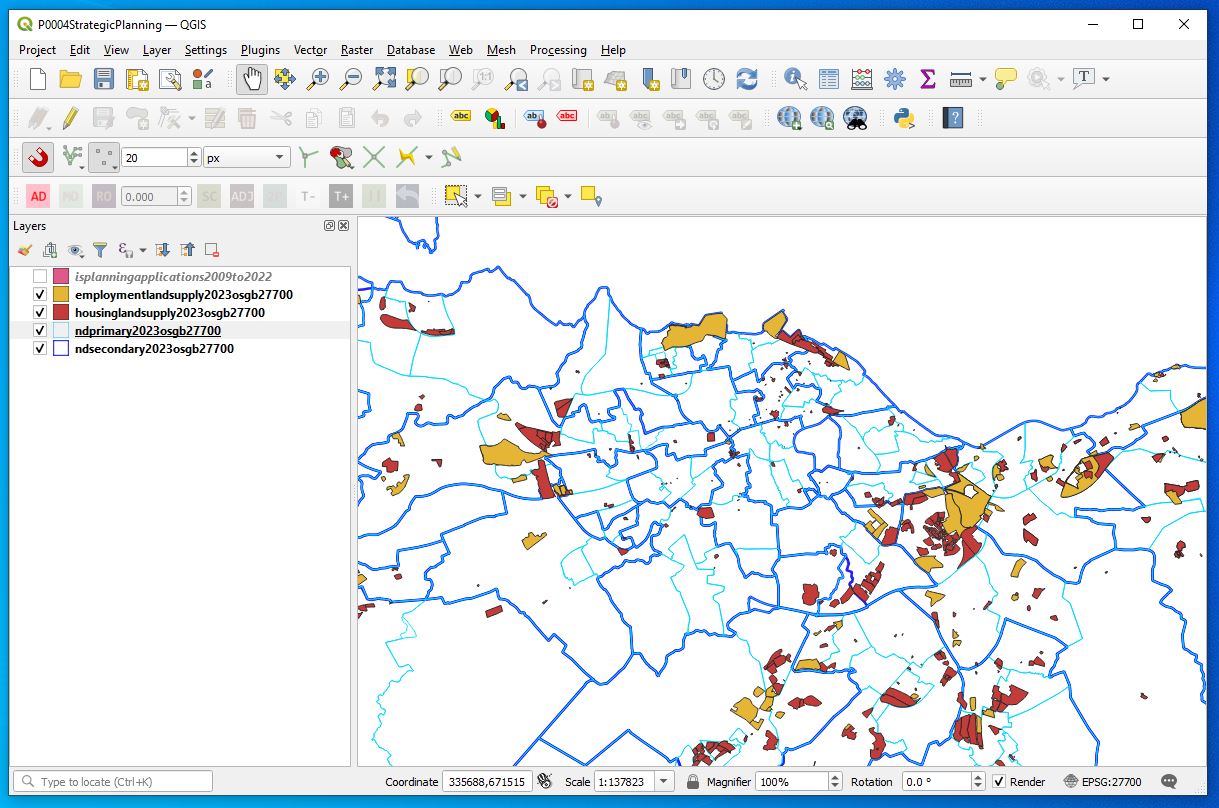
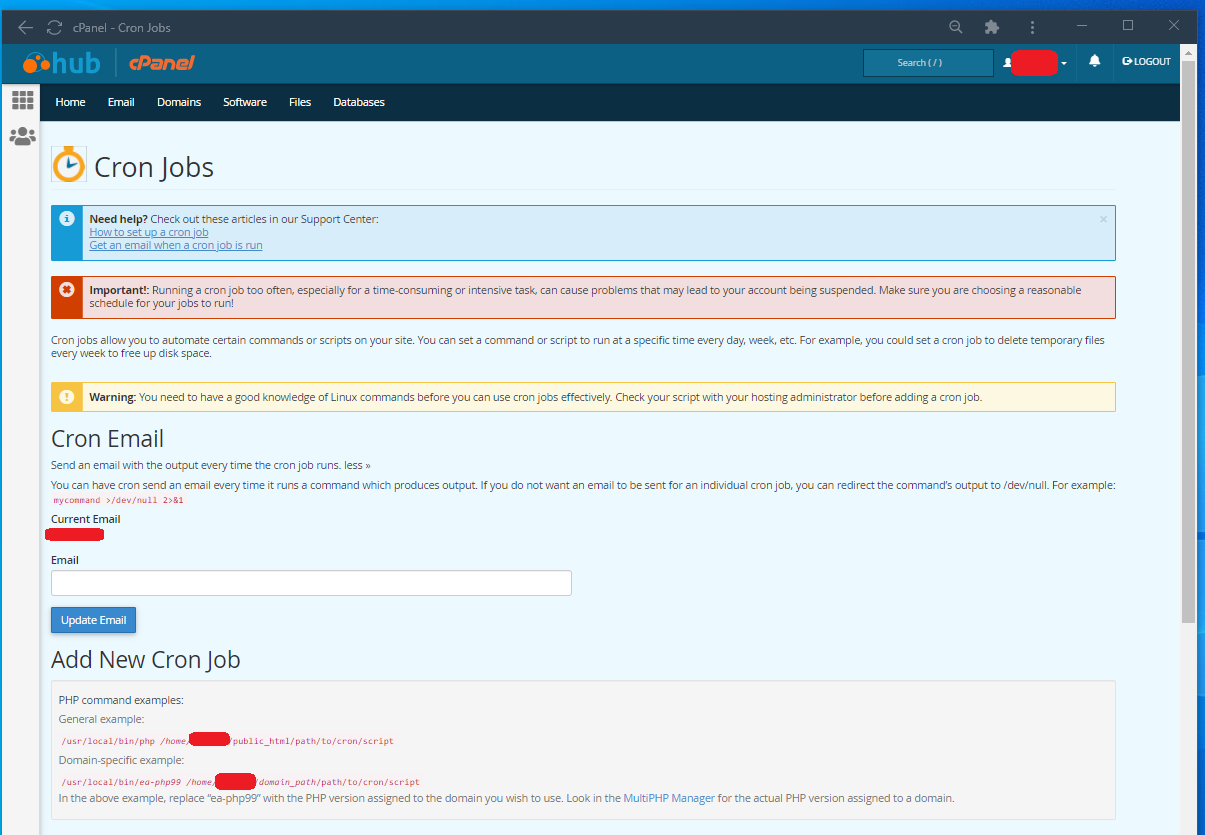
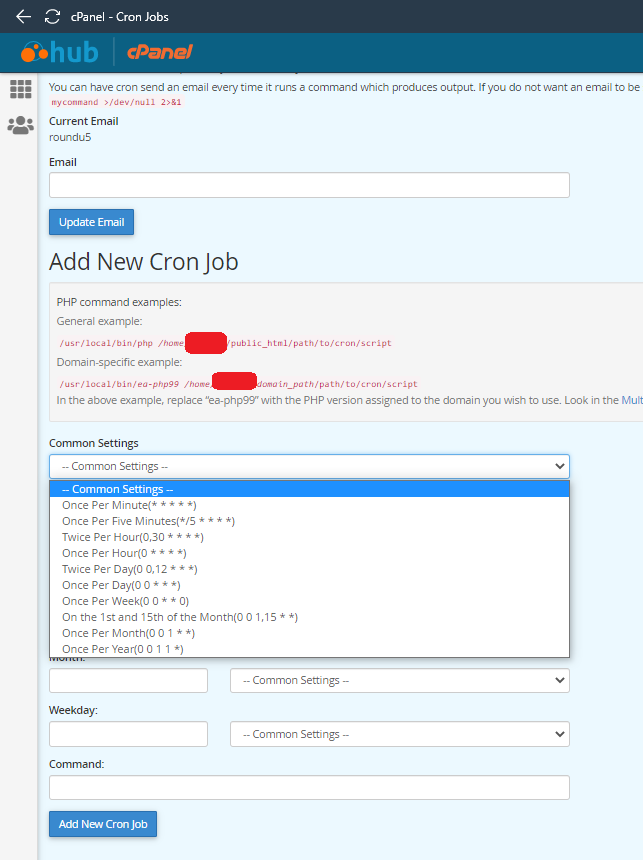
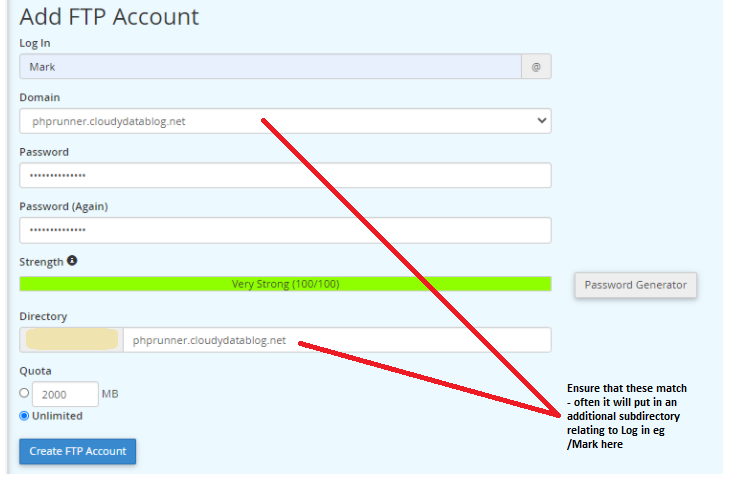
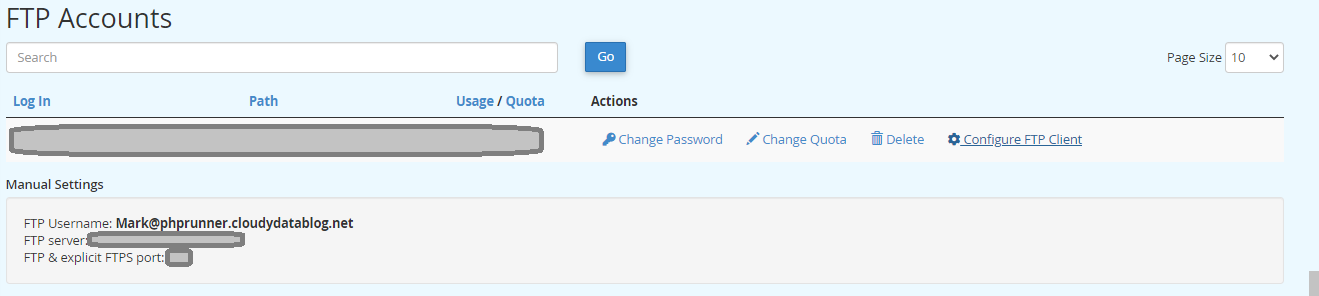
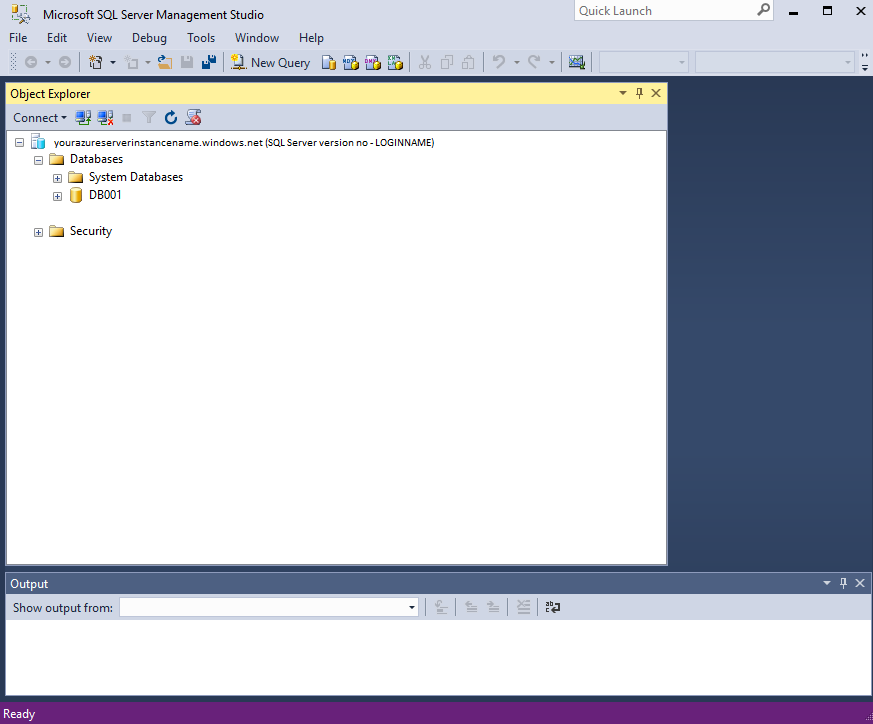
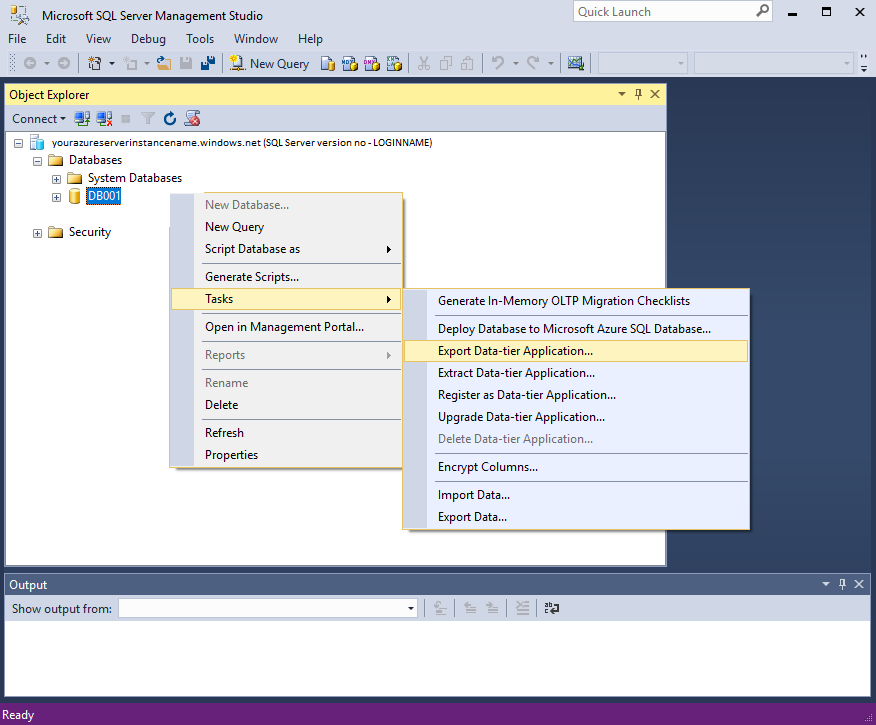
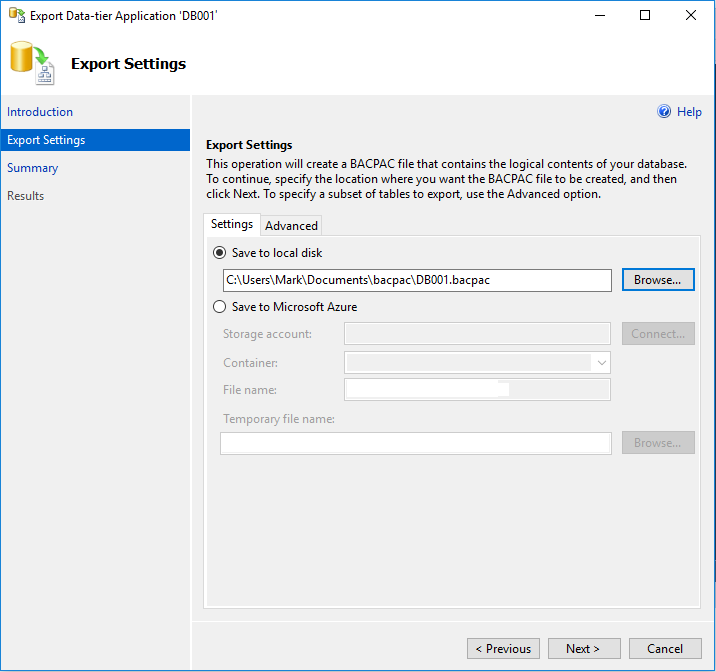
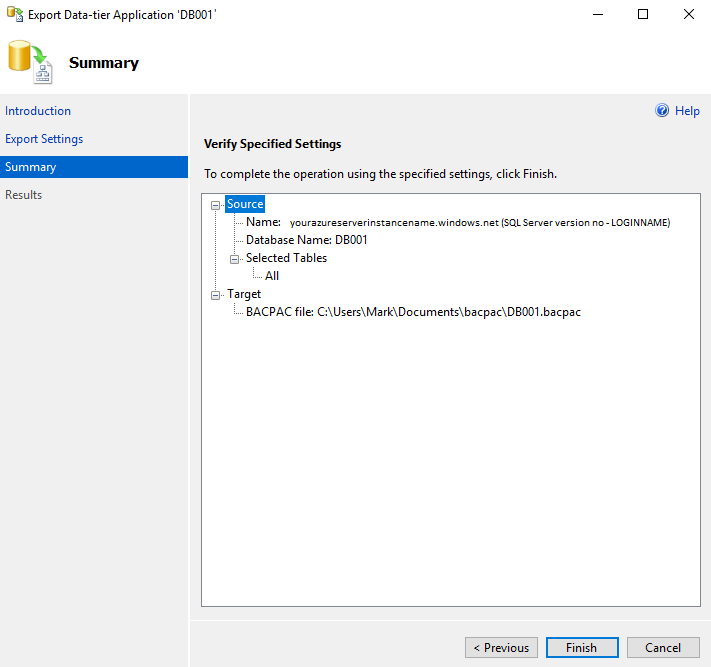
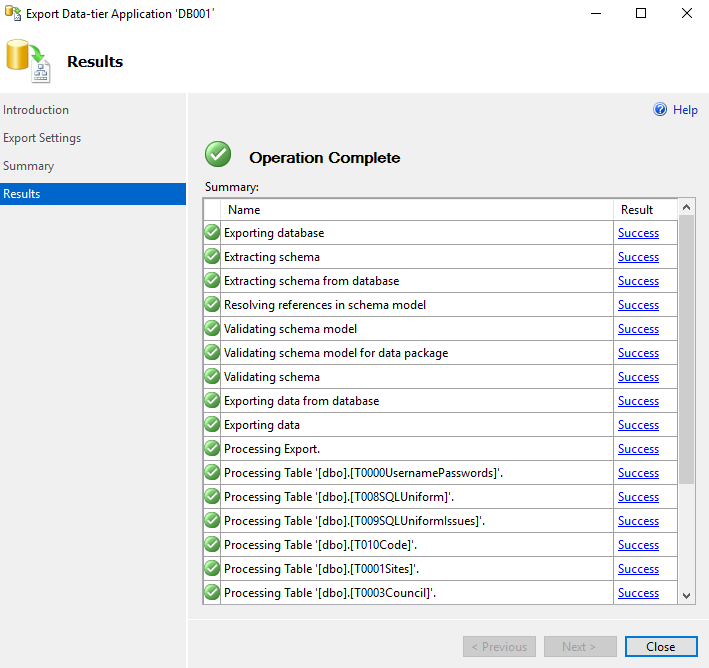
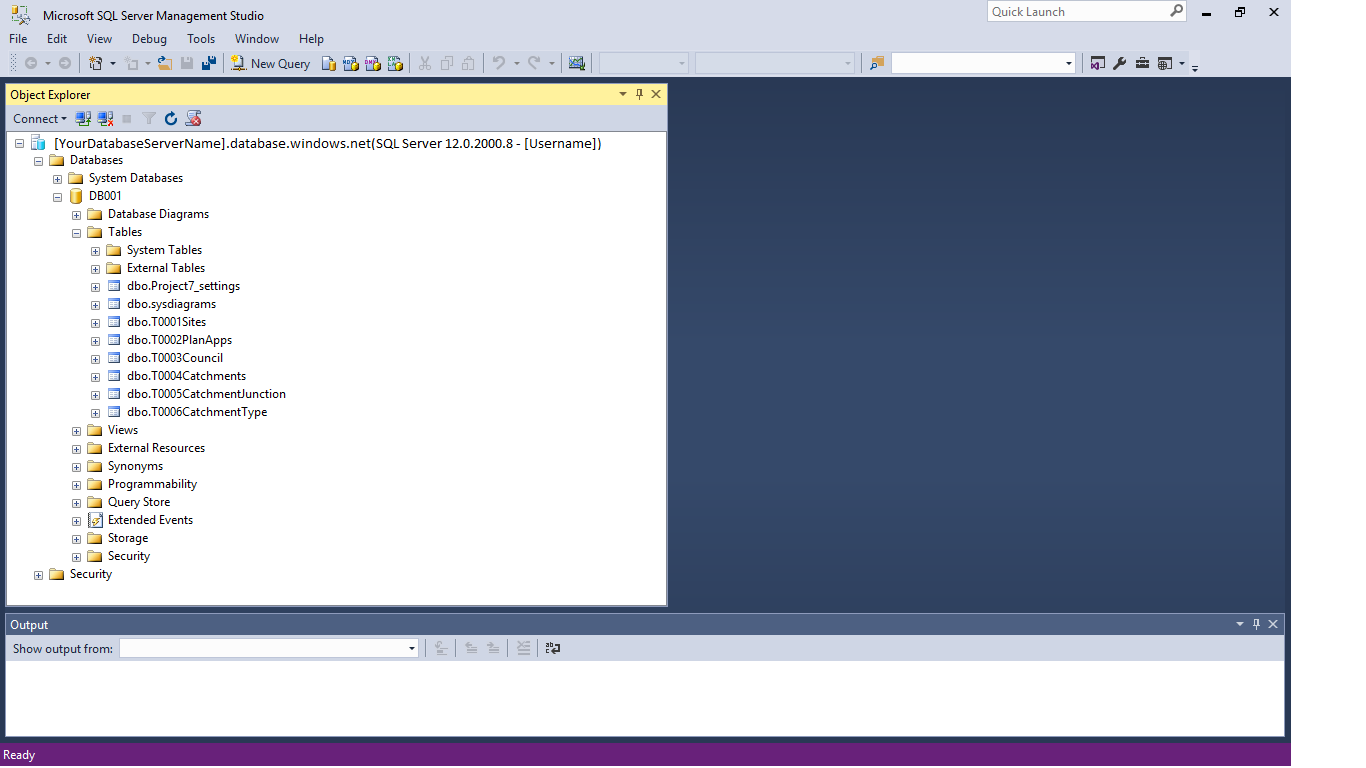
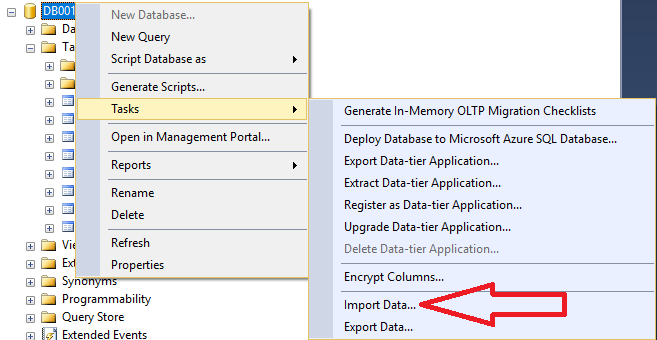
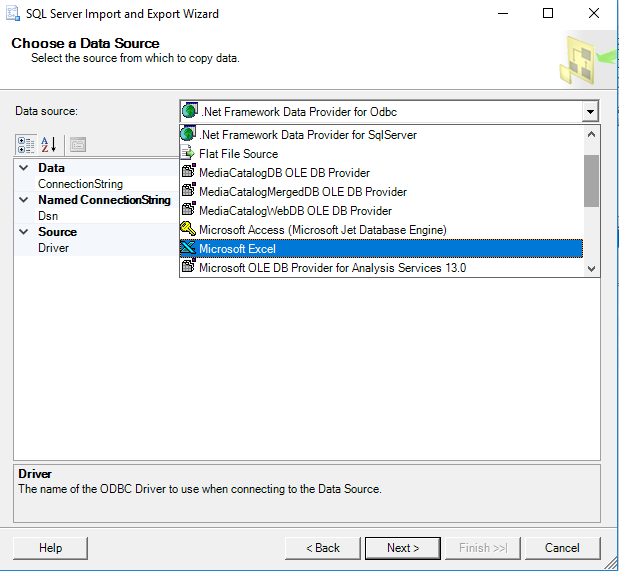
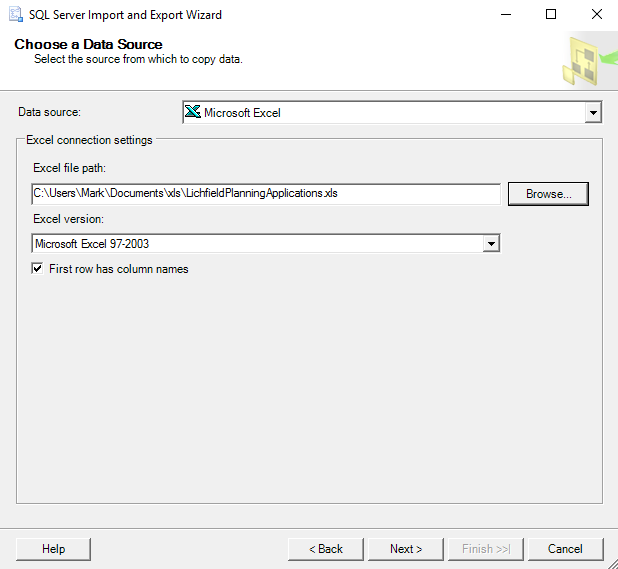
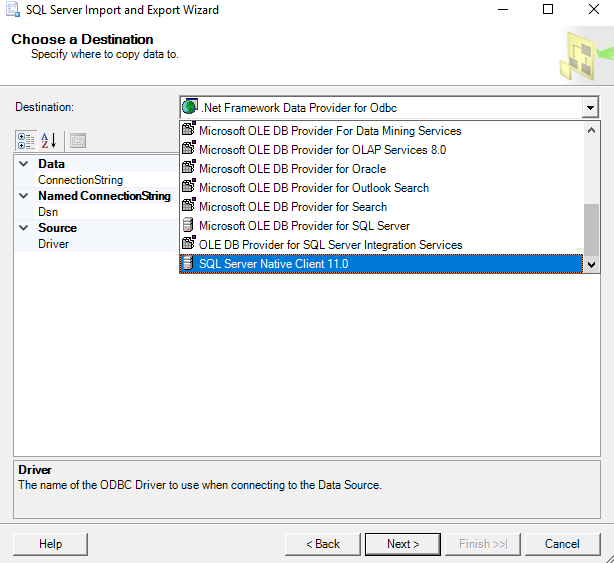
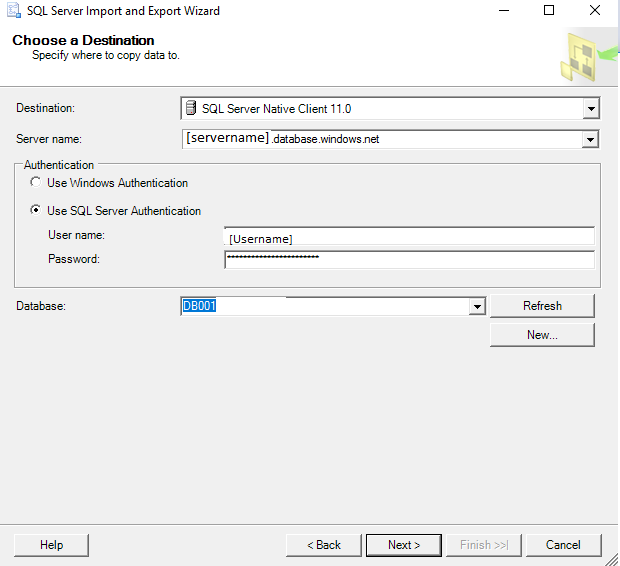
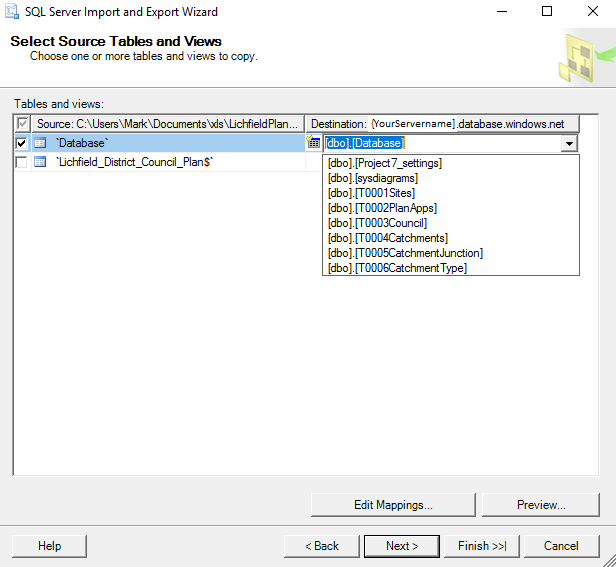
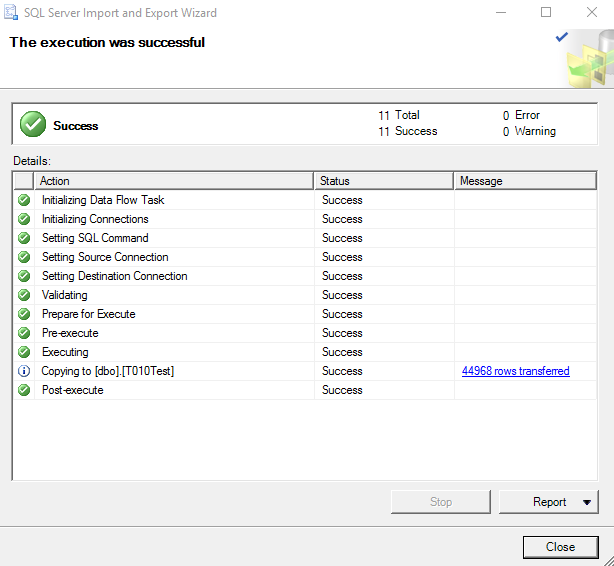
Practical Example
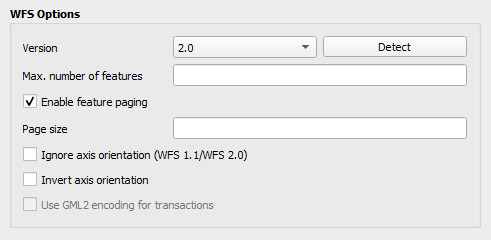
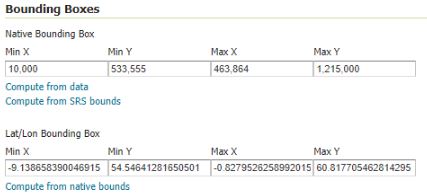
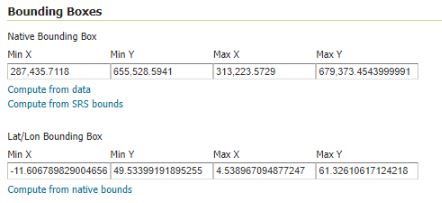
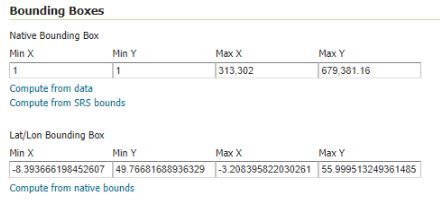
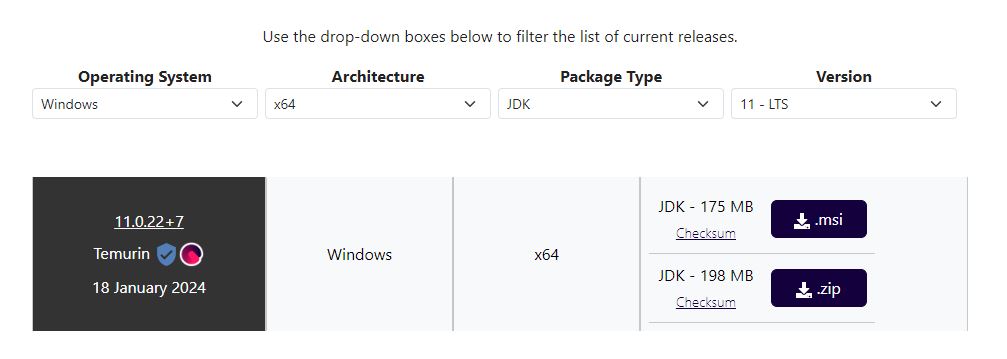
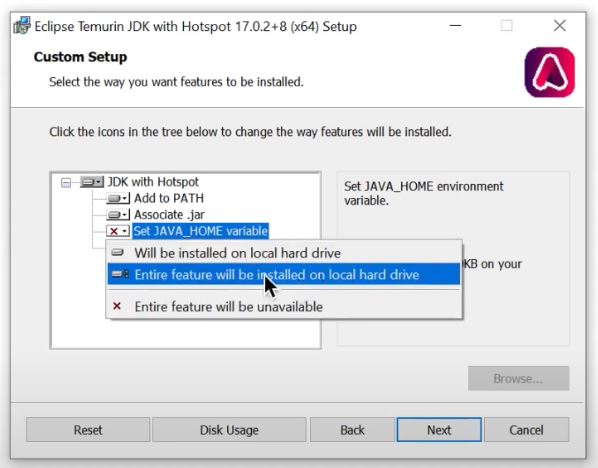
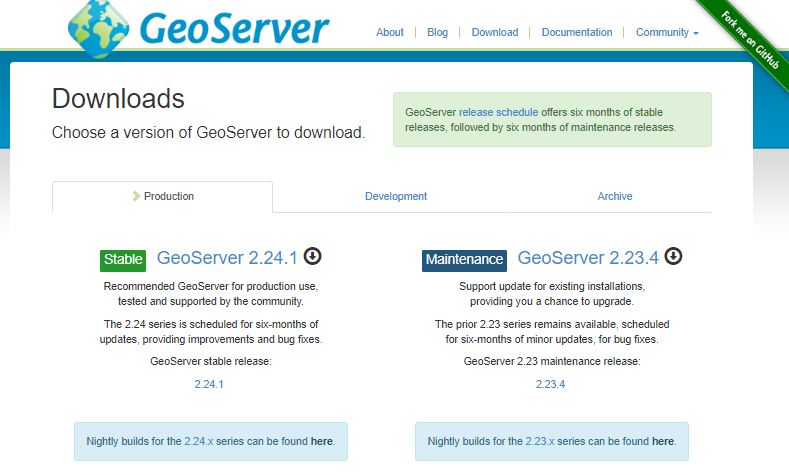
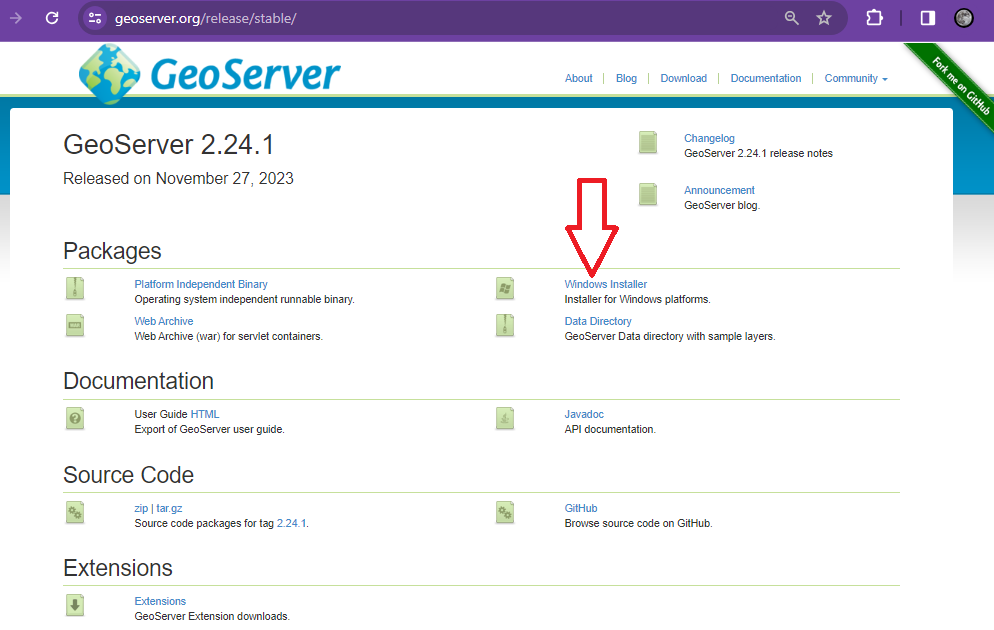
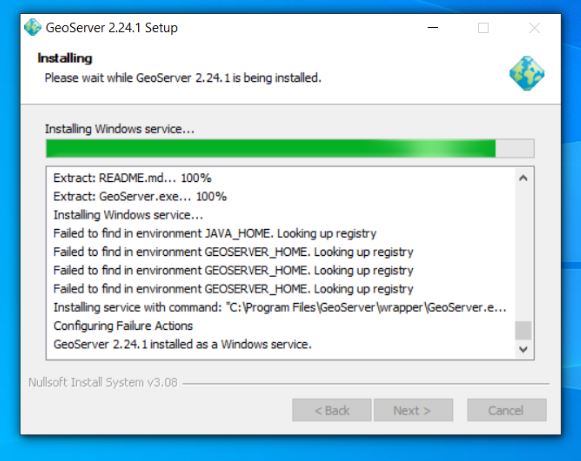
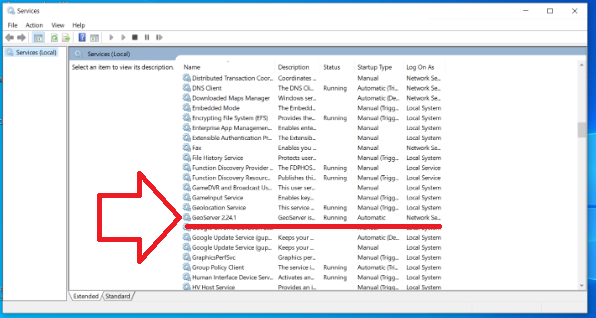
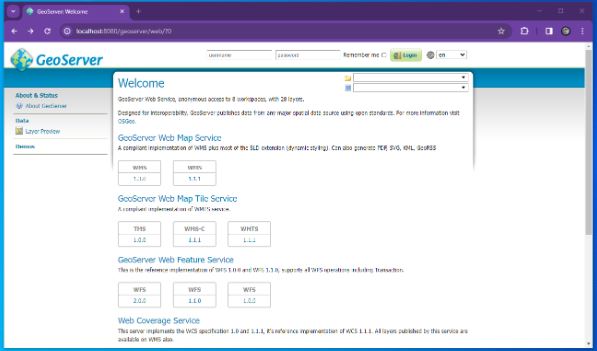
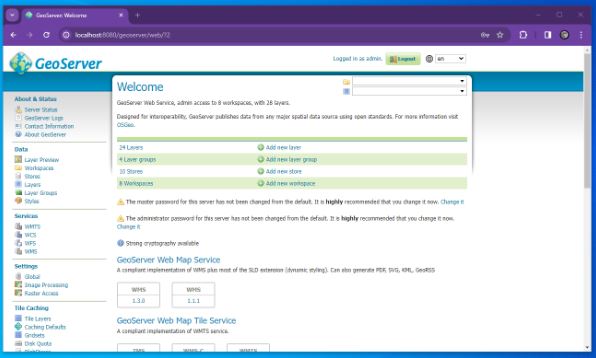
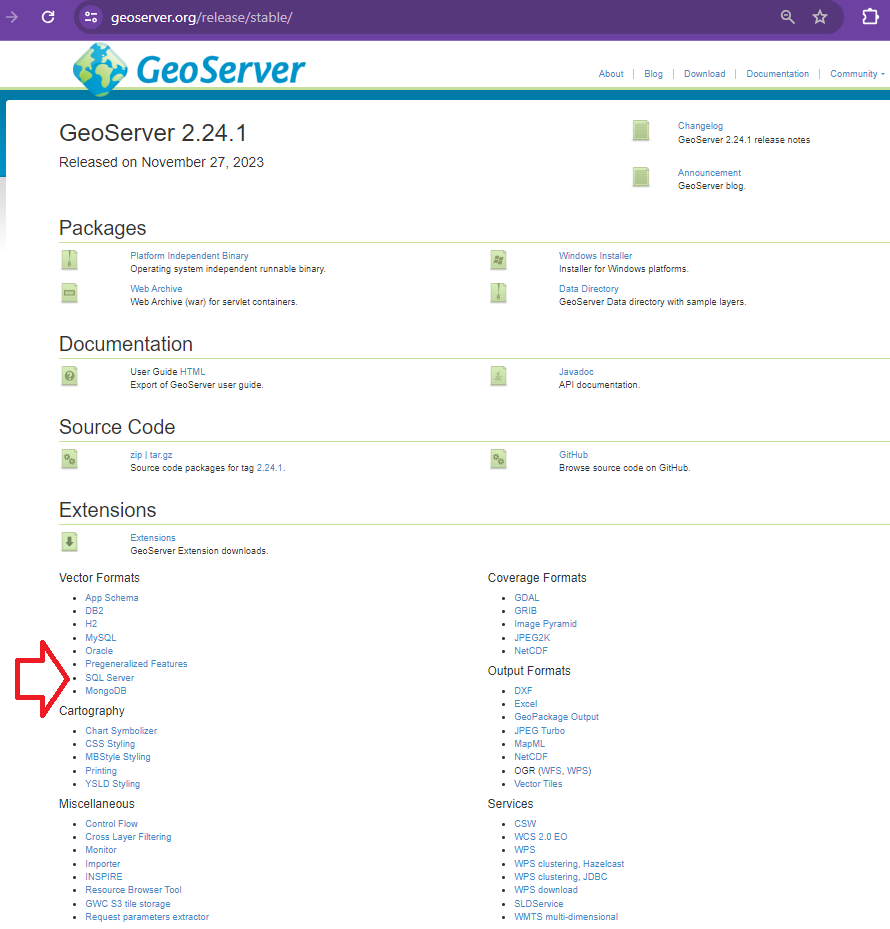
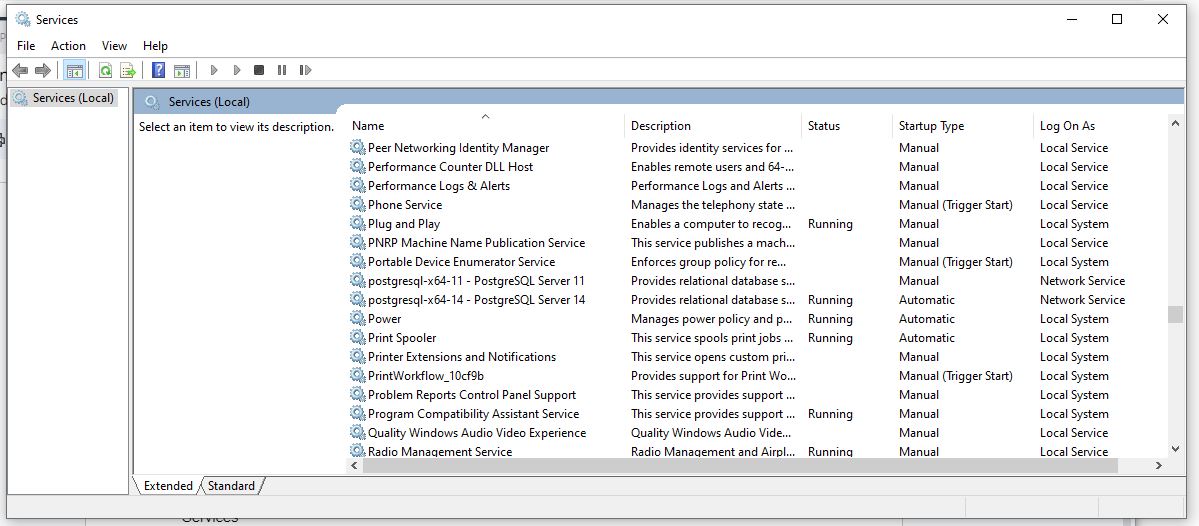
So at the weekend I converted a largely single database file which was arguably Tier 3/4 to an web accessible tool. Significant improvements to the operation of the application for timing a race.