Background – I wrote sometime ago about an open source low code project called nubuilder originally started by a Steven Copely – it has been steadily and consistently developed over the years and Steven has since shared development with some other talented individuals. I took another look at it recently to see whether I could find a way of installing and playing about with it on my existing web hosting provider…
and…
If you have a webhost that allows you access to a CPANEL client to configure your hosting environment then it is highly likely that you can set up a nubuilder low code environment. If you have a webhost that allows access to a CPANEL account AND allows you unlimited sub domains and unlimited storage then it is highly likely that you will be able to create a nubuilder low code environment for zero cost!!!
A quick search online found that the following offer CPANEL / unlimited subdomains / unlimited MYSQL
A2Hosting
WebhostingHub (which are a subsidiary of InMotion)
SiteGround
There is usually a limit on the size of an individual MYSQL database but it is so high as to not be an issue.
Configuration Instructions:
This post was adapted from Steven Copleys video which can be found here..
First below I have blanked out my cpanel username variable with either a grey circular box or in code I’ve replaced it with an X. This variable is implemented by CPANEL software to allow resellers to ensure that thousands of users on the same servers do not accidentally duplicate directory and filenames. The username can only be accessed with an additional password but it is not generally available to anyone but the host admin and as such is additional security. It will be used in many of the default settings when creating things like databases and directory names.
Firstly Log into your providers CPANEL

Look to the Domains section and within it there should be a Subdomains icon.

and select the Subdomains icon
Create a new subdomain
Here is the Subdomain field I have typed nbexample – the document root will automatically be completed
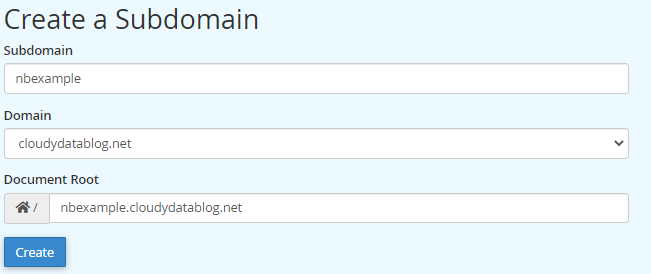
Hit the Create button
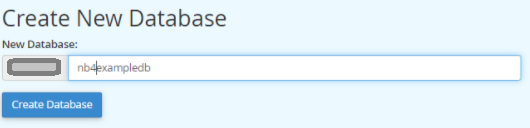
Next we create a database
go to MySQLDatabases within the Databases menu

 Now we create a New User
Here I do the same
username will be X_nb4exampledbuser
password
BlueSkyIsEverywhereToday2020
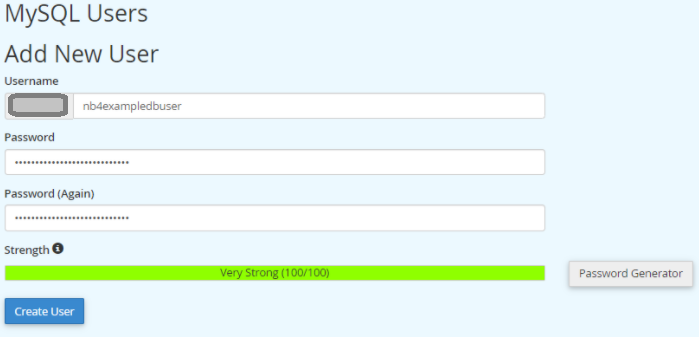
Hit the create user and Go Back and add the user to the database
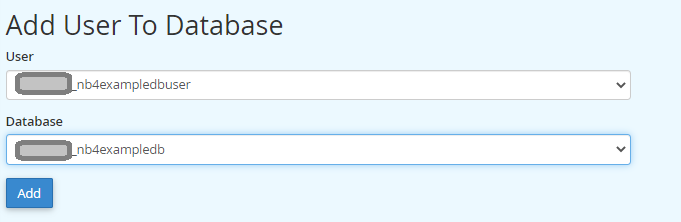
On hitting add you will be asked to select the privileges that the user has over the database just indicate that you would like to allow them all privileges

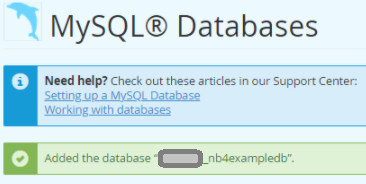
Then hit the make changes button and you can if you want then check the MySQL databases and check that the database exists and that the user is there.
![]()
Next we go to the Nbuilder Github site and download the master file but zipped
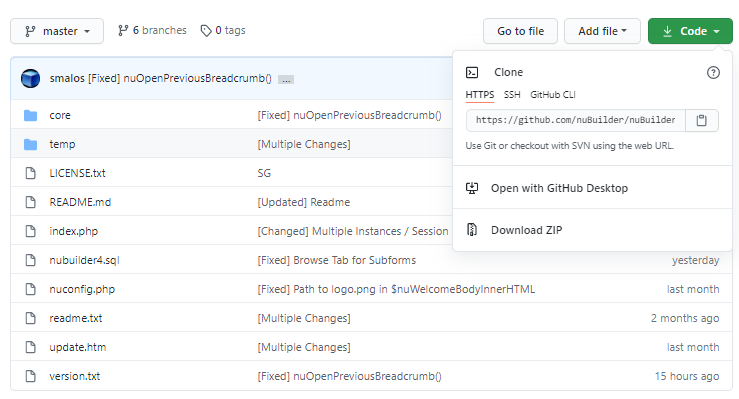
And select the Dowload ZIP option from the Code drop down list.
This will download a master file to your dowload folder – In your browser window in the bottom left you will see the file like this
![]()
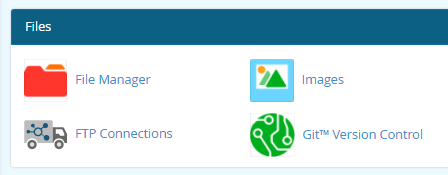
You now need to go back to the main CPANEL hub and look for section marked Files and look for the File Manager option. In my CPANEL it looks it is a red icon.
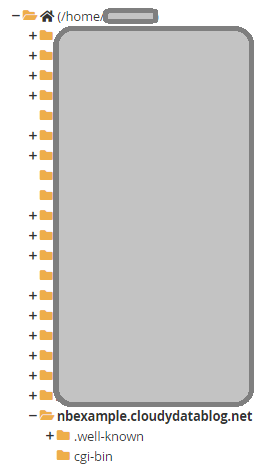
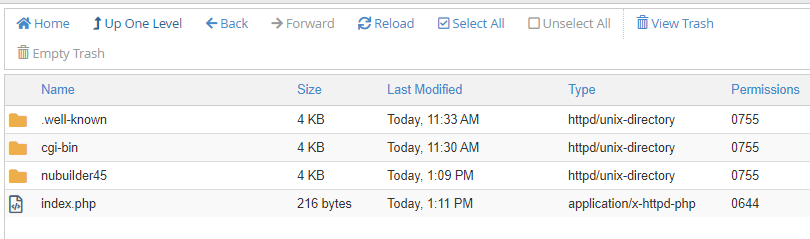
The subdomain will be created as a directory within your root home directory and in my example looks like this. You will be transferring the master zip file into this directory so you want to select it.
Next hit the Upload button and navigate to find
nubuilder-4.5-master.zip
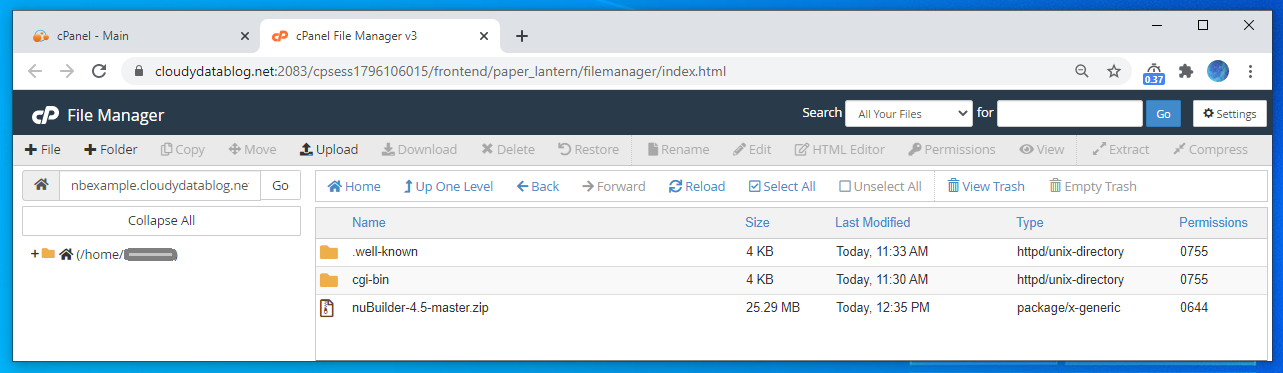
And load it into your base directory. It should look something like this now
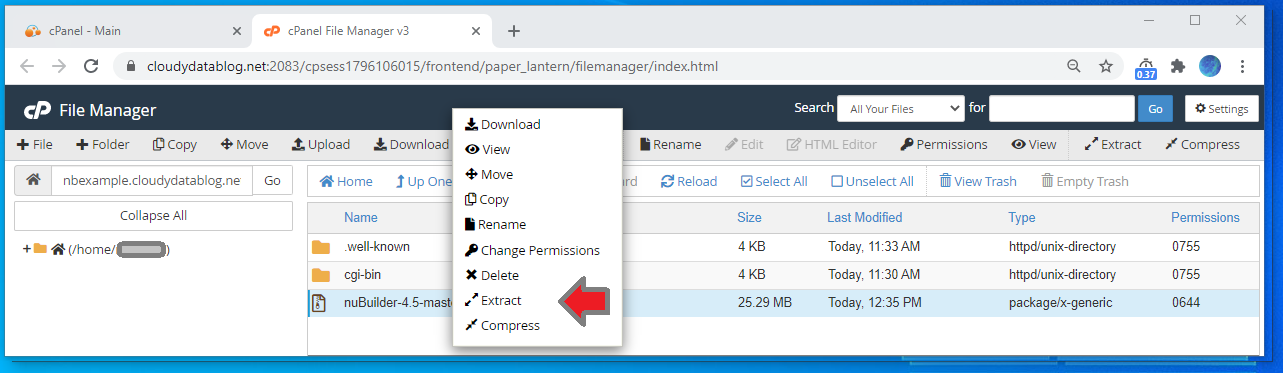
Next you want to extract it..
It will then ask where you wish to extract it to
I will normally not put anything in here as it creates its own directory.
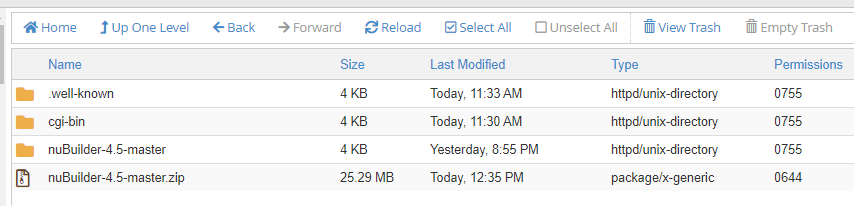
There will be a short delay after which you will be presented with a dialog that shows the outcome of the extraction process.
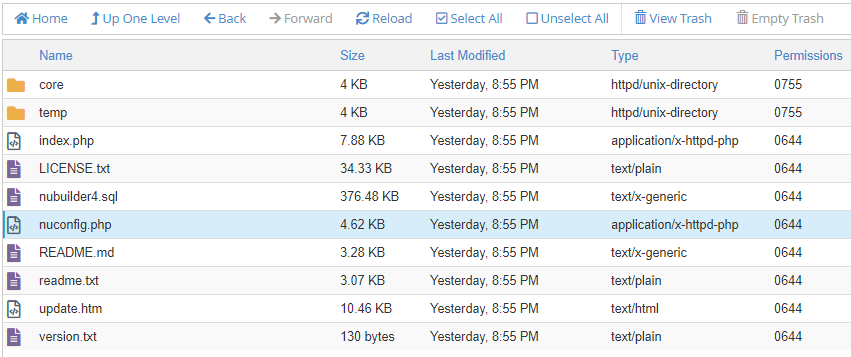
You should now see a new directory in which in my case is called nuBuilder-4.5-master.
I don’t like hypens dots and capitals or special characters in directory names. So
- I rename it to nubuilder45
- Convert to all lower case
- Delete the old zip file
Next we want to go into the nuBuilder45 file and open up the nuconfig.php file.
This is where we will link allow the nubuilder php to link to the created mysql database.
Right mouse click and select edit.
And find the following lines

Now remember from the start our database name / user and password are as follows.
- Database : X_nb4exampledb
- Username : X_nb4exampledbuser
- Password : BlueSkyIsEverywhereToday2020

And hit the changes..
Next we want to create a very simple index.php file – alter the path to suit your subdomain / domain and directory where you extracted the nubuilder master file to.
<!DOCTYPE html>
<html>
<body>
<script type="text/javascript">
window.location.replace("https://nbexample.cloudydatablog.net/nubuilder45")
</script>
</body>
</html>
</body>
</html>
It may well look like this
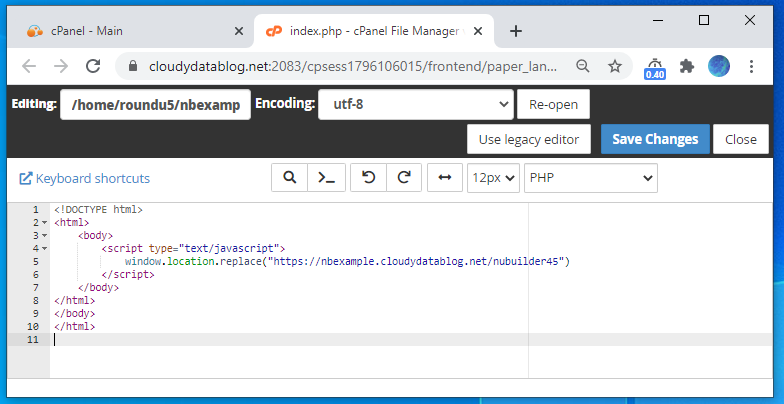
This simple index.php file is placed in the root of the new subdomain you created
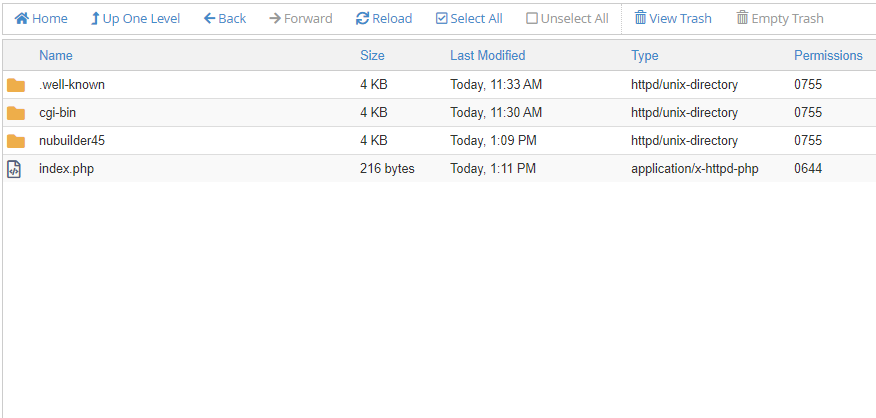
Now you should be able to go to the new subdomain in any browser on the planet and …
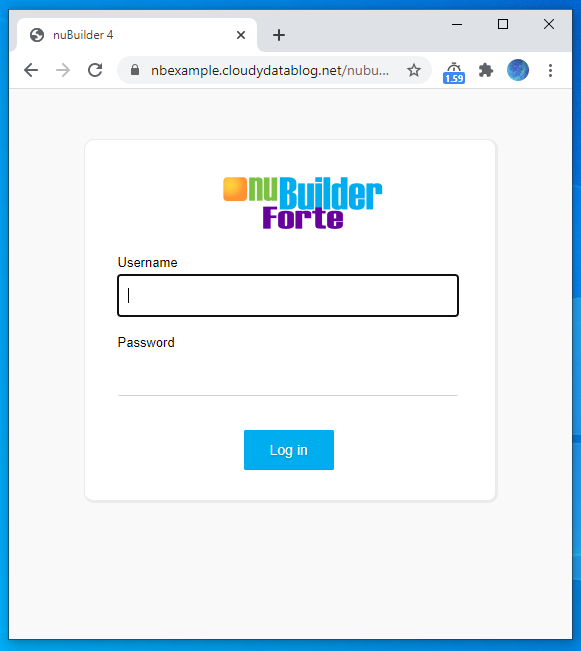
Congratulations you have successfully configured a default instance of nubuilder – your journey to creating low code online databases can now begin..
PS the default credentials are
Username : globeadmin
Password : nu
Please change these immediately in the nuconfig.php file when you get a chance.
For more information on starting to design and develop with nubuilder please follow the link below