I have started experimenting with Microsoft Azure if you haven’t already you can get a free experimentation account here;
Microsoft Azure Trial account with £125 credit
This gets your registered on Microsoft’s cloud and after a free trial period you will be able to continue with a Pay as You go Account which depending on the services that you go for can start at very cheap rates.
In order for this to work you will need the following
1) Microsoft Azure account
2) An SQL Azure Database
3) SQL Server Management Studio downloaded and installed on the machine you will be uploading from, this can be obtained from SSMS download link be warned its over 800mb. Here I use SSMS 2016
4) Know your server name this is generally [Yourname].database.windows.net
5) Login and Password (I use SQL Server Authentication)
Testing things out I have been using the Web Apps Service to run a website and connect to an SQL Azure Database – both on the cheapest options.
What makes the website particularly cheap is that it can be stopped and started and by paying for it by the minute you can really get a powerful demonstration sites up and running and stop them immediately after the demonstration for very little money.
So after having created an Azure SQL database (Microsoft Create Azure Database Tutorial)I wanted to get a decent number of records into it. Which would be the starting position when taking on most work.
Here I use the Lichfield Planning Application information previously referred to in this post QGIS Import. What I did was take the 45,000 records of planning applications from the shape file. I did this by opening up the dbf file of the shape collection in Excel 2003 and then saving it in excel format. This will be used later to import into the database.
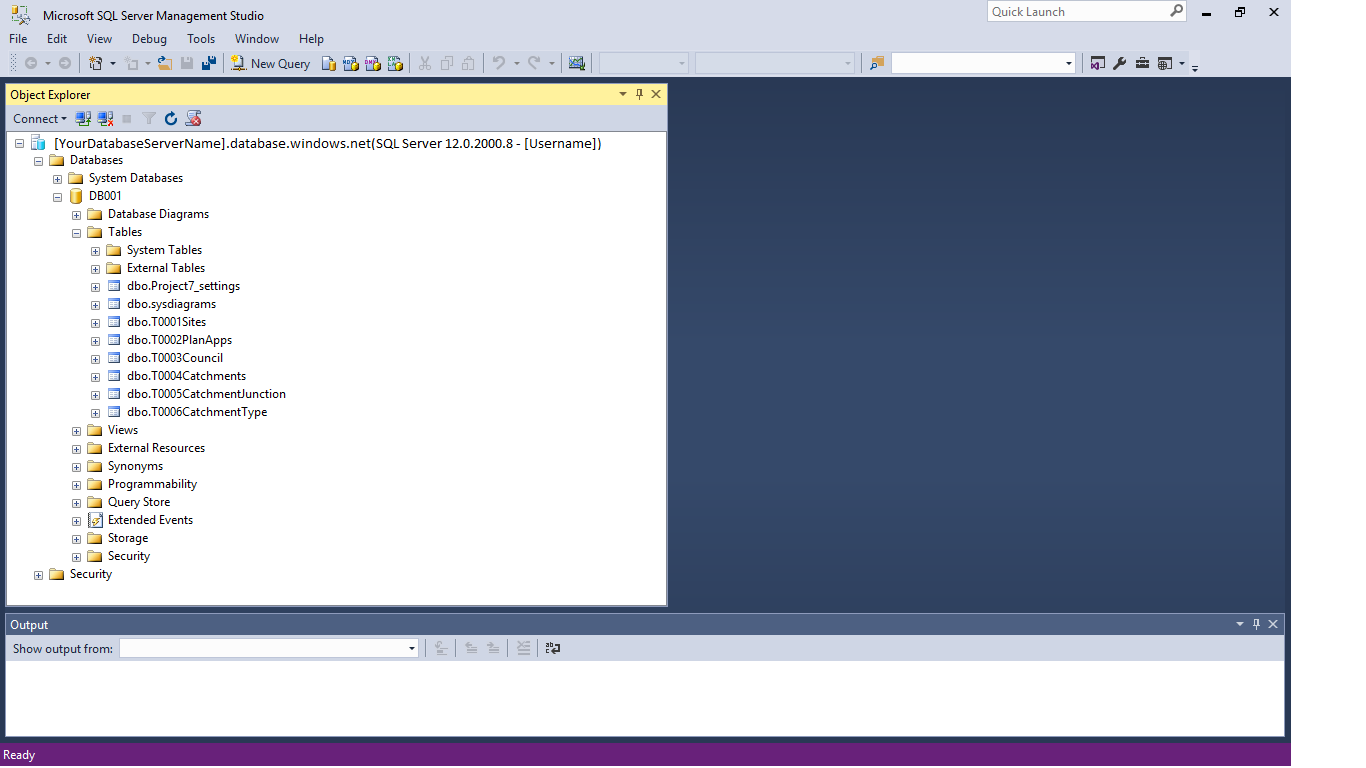
Having your excel file ready the next step is to open up SQL Server Management Studio and connect to your Azure Database. The parameters with regard to username and servername will have been setup when you created your Azure database it is important that when you create your Azure database you somehow record these details.
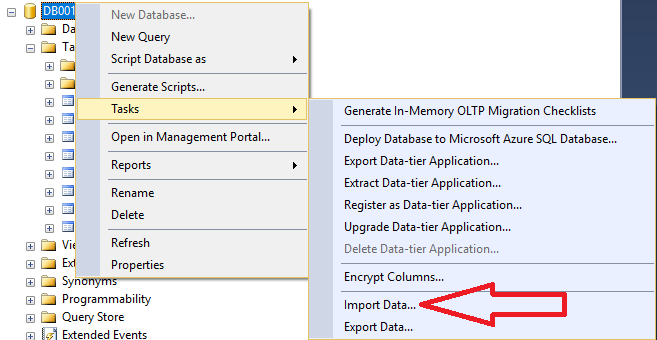
Next highlight the database – in my case this was DB001 and right click to get tasks.
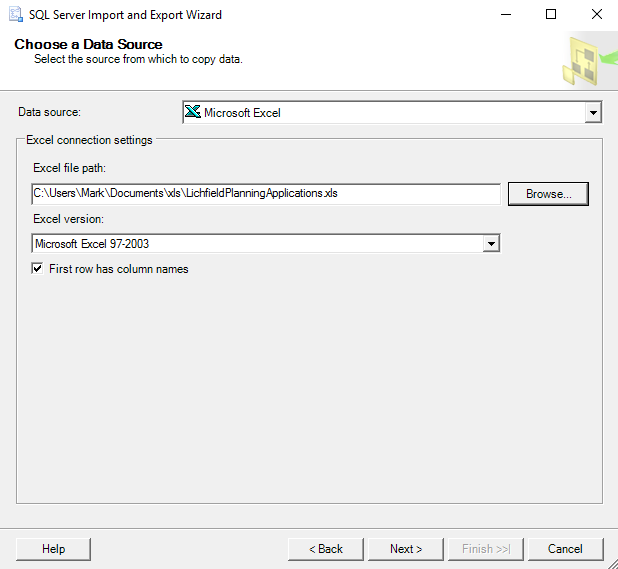
At this point you enter the import wizard windows dialog boxes and having passed the opening welcome screen , a screen that can be turned off for subsequent navigations, you should hit your first screen that allows you to define the format of the file that should be imported.
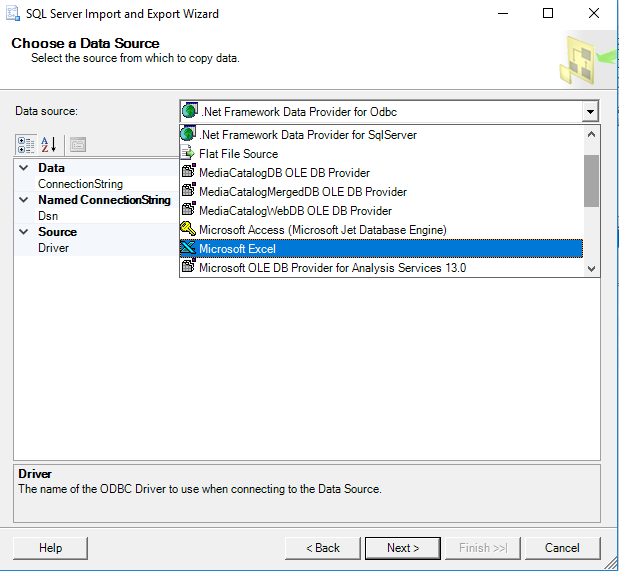
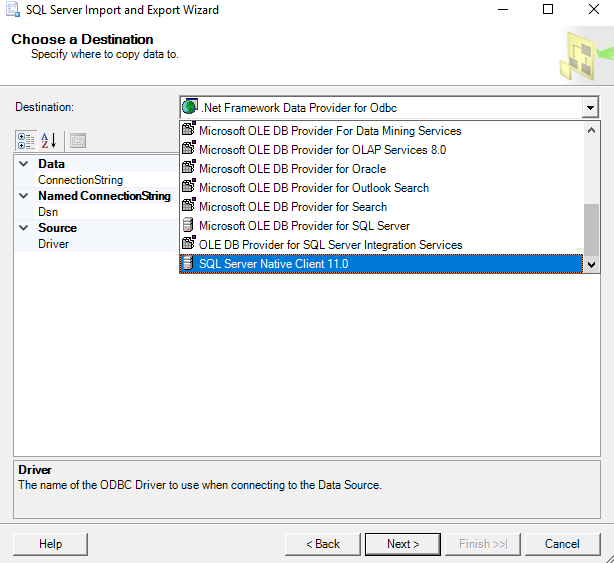
The next step is about the only one that is slightly confusing – you are given a number of different options for the target – for me SQL Server Native Client 11.0 worked for me.
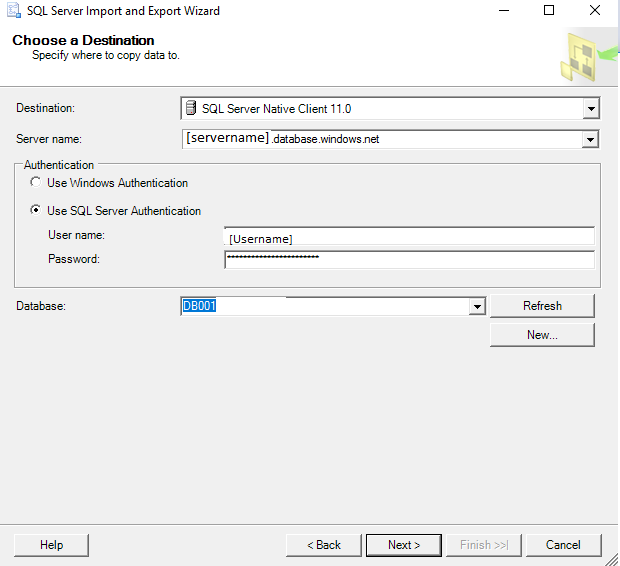
Now using the previous parameters specific to your database server and your database name complete the next dialog.
The next dialog asks you whether you want to copy all information or want to write a query to filter the information to be imported. For my example I chose the all import item. Here I select the database and then I am able to see the from and too destinations.
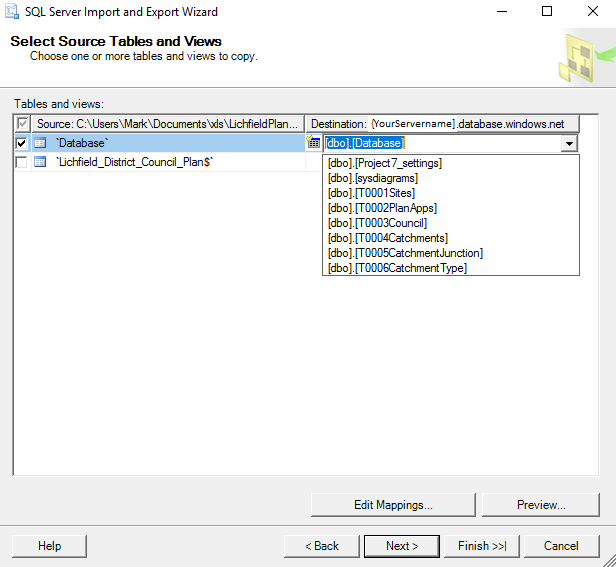
If you wish to import into an existing table use the drop down to select tables from the database – if you wish to import into a new table you can type in the name of the new table within the square brackets.
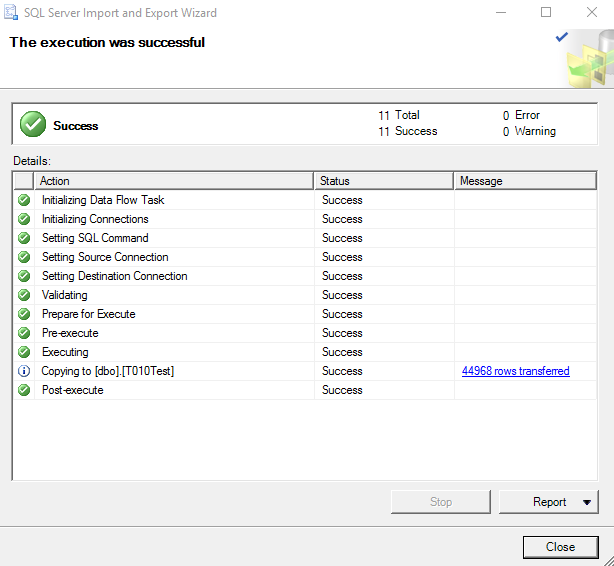
Here I create a new table called T010Test and import and then continue through the import wizard dialogs until on completion of import you should see a similar screen to that below. It is possible to go into the edit mappings if you are copying into a table that already exists. This will give you a preview showing to what extent the mapping will be successful and how the fields map. You may wish to alter the names of columns to match your target table at this point.