Create Users
Firstly ensure you are logged in as administrator ONLY the system administrator can set up users and roles and the default geoserver username/password of the administrator is admin/geoserver
The sa login has additional menus as here
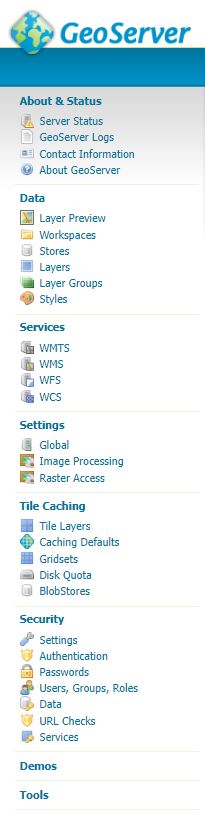
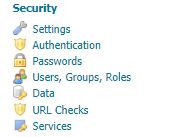
Go to the Security menu on left towards the bottom and find line marked – Users/Groups/Roles
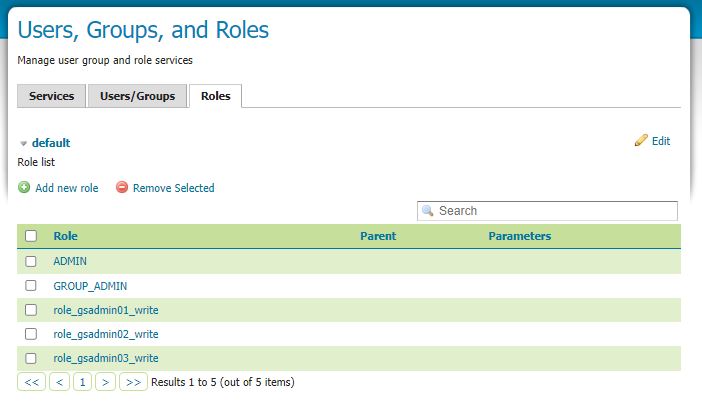
Go to the Roles tab
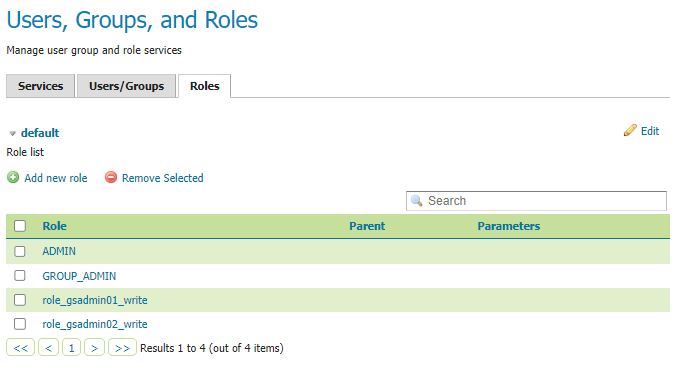
Look to the green circle with white cross and add new role and complete as appropriate
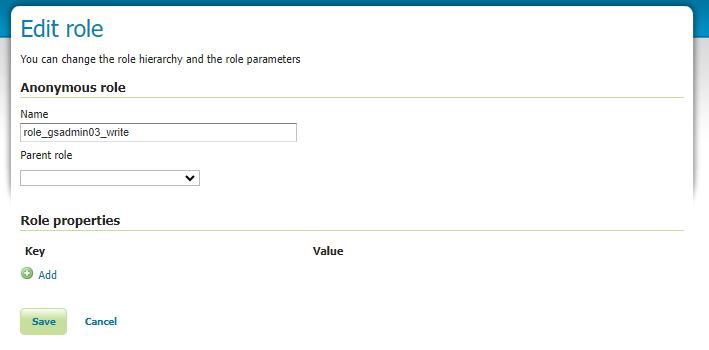
Note once you have created the role you will not be able to edit the name of that role so you have to delete the role and then create a role with a different name if you don’t want the old role name to continue.
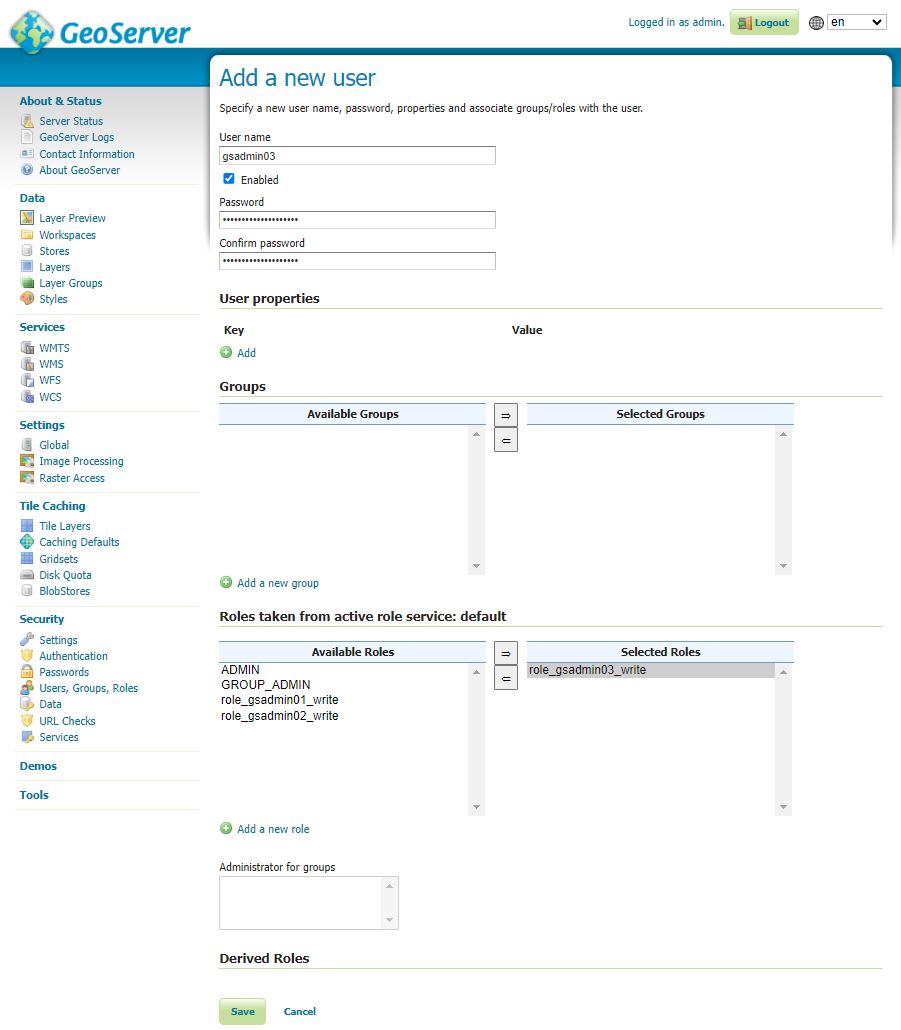
Next we create the users
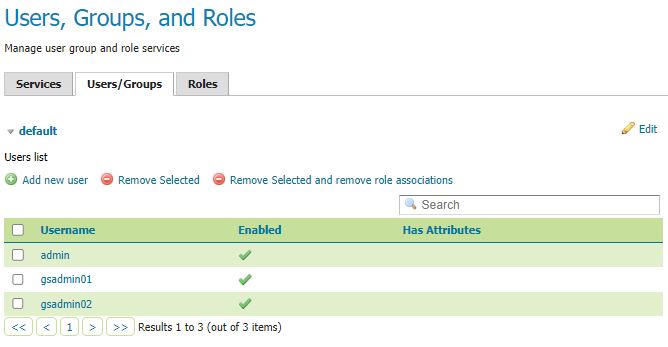
Go to the Users/Groups tab
Look to the green circle with white cross and add new user and within the Roles taken section ensure you move the role you created from the left box to the right see grey above.
The new username should now appear in the User list

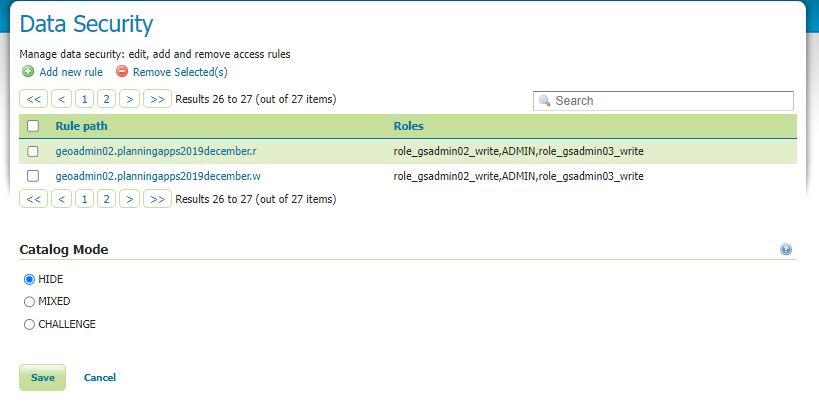
You grant admin privileges to the workspaces through the Workspace section as follows
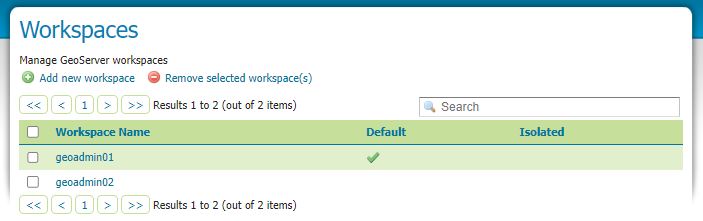
Within the edit workspace section go to security
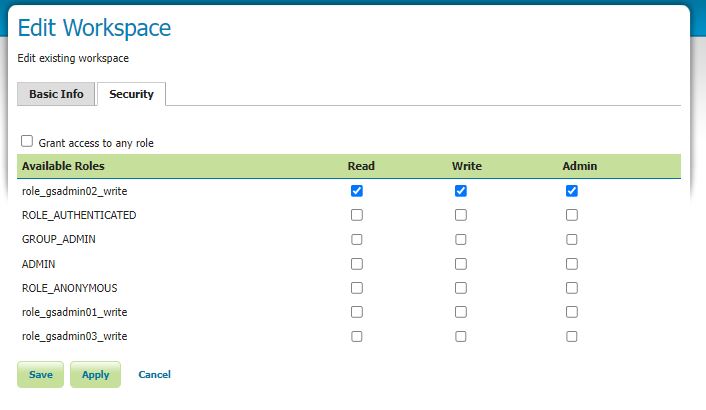
And give admin rights to the role you wish to link to the workspace
Note that you still won’t see anything until you go into layer edit and edit the security as follows.
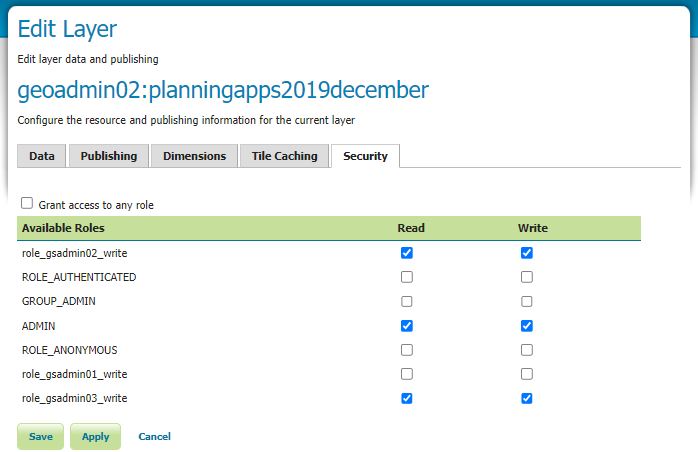
Within the Security section you can also see the roles added