WordPress and OceanWP(theme) – Default config for blank Blog

WordPress is excellent but setup through the admin menu system seems to me unintuitive and a standard configuration can be really difficult to replicate. I constantly wrestle to get sites how I like them. I resolved to document a standard configuration with WordPress and the theme OceanWP (free version) to speed things up.

What are my preferences on good design? A wide section for text and obvious and intuitive search option with menu that can be setup dynamically to add new posts to menu under their respective category without continually needing to alter the Menu design.

It should be noted that I don’t use the OceanWP theme for this site – which is a historical thing.

I’ve used OceanWP theme (Free version) for some time its a good free popular WordPress theme.
You can read more about Oceanwp here
My shared hosting provider is InMotion I have found them to be excellent particularly their online support which is 24/7 link here

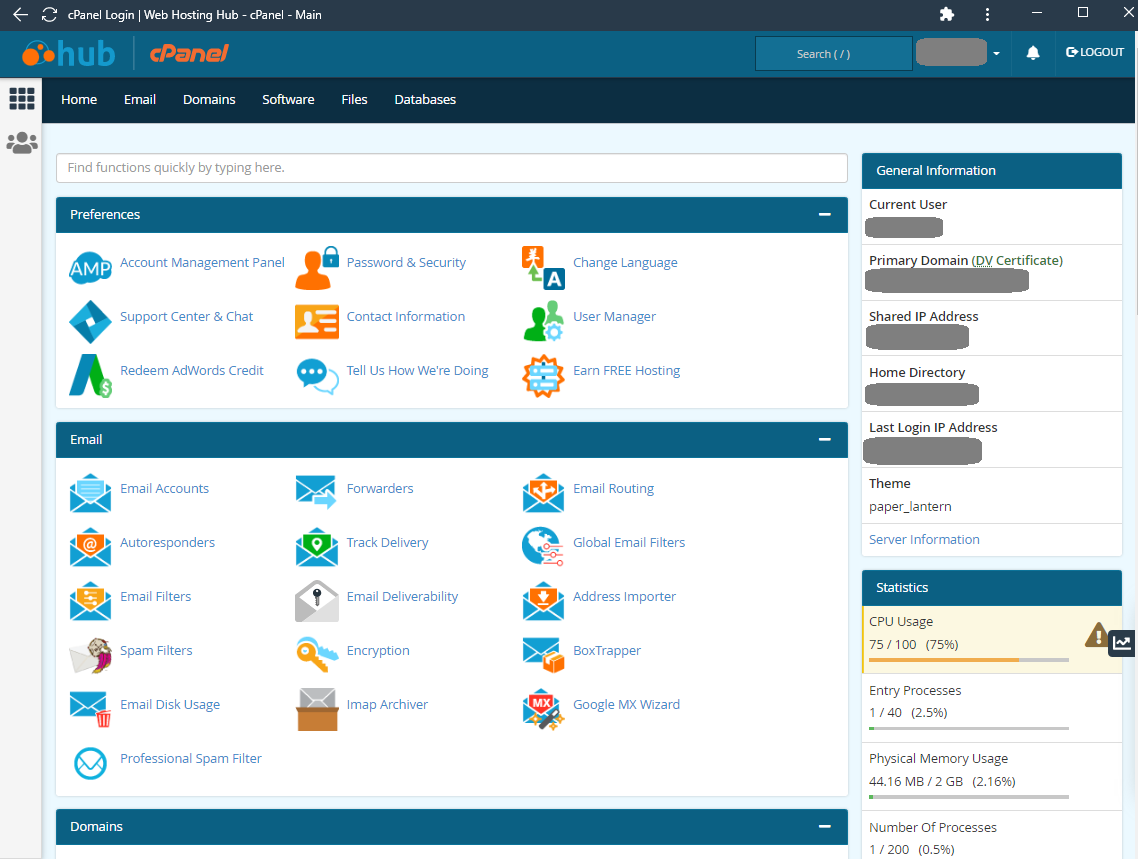
Firstly install a default WordPress website. My provider uses softalicious through cPanel your preferred web management hosting platform may vary. I won’t document this stage

Next install the OceanWP Theme and add Plugins.

Next I add my preferred plugins, some of which come with shared hosting WordPress installation;

  • Akismet (default with my shared hosting wordpress installer (inmotion))
  • Broken Link Checker
  • Jetpack (again default with my shared hosting wordpress installer (inmotion))
  • Login logo
  • Nginx Helper (default)
  • Password Protected (if enabled will require a password for the entire site)
  • Post Types Order
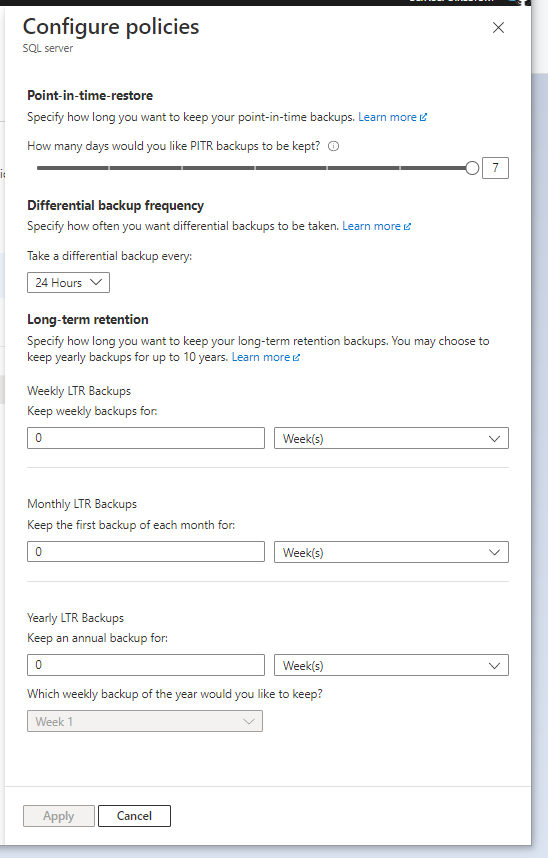
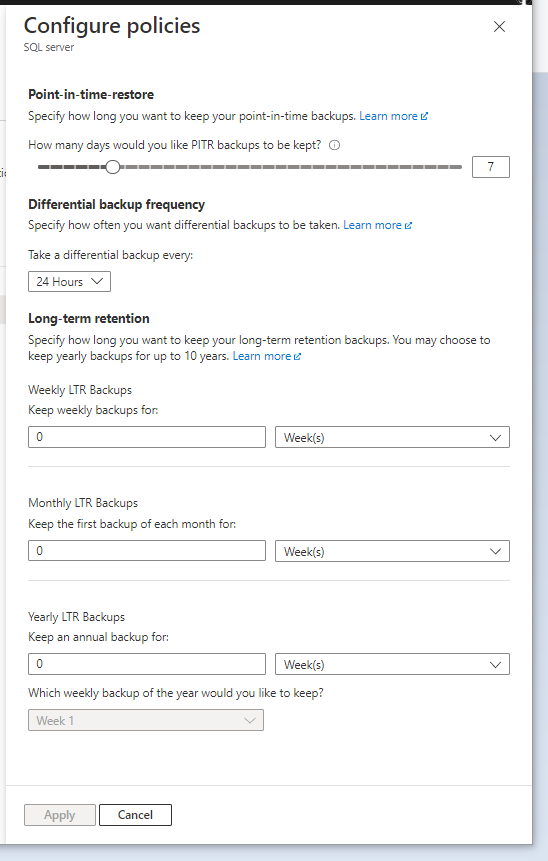
  • Total Upkeep (I use premium as it allows for improved backups)
  • Current Year, Symbols and IP Shortcode (allows addition of copyright symbol with dynamic year)
  • .

    Next Default configuration of OceanWP WordPress theme using the above plugins

    Settings / General
    – alter site title and tagline

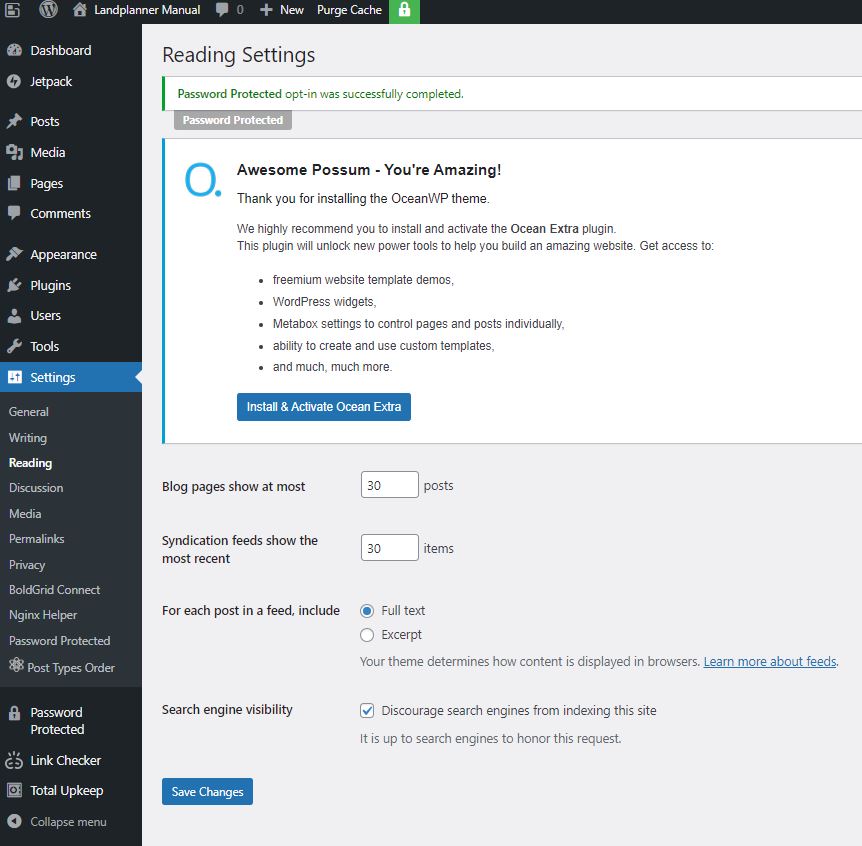
    Settings / Reading / Search engine visibility
    Set as appropriate either tick yes to encourage or clear to discourage
    – Discourage engine visibility
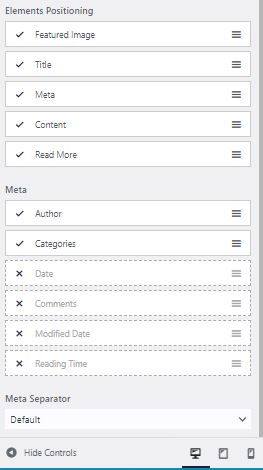
    This is also where you show blog posts as either Full Text or just an Excerpt. If you are on Full text there is little point in having the Read more element in the blog element positioning section.

    Settings / Permalinks
    Apparently this helps with SEO
    – Postname

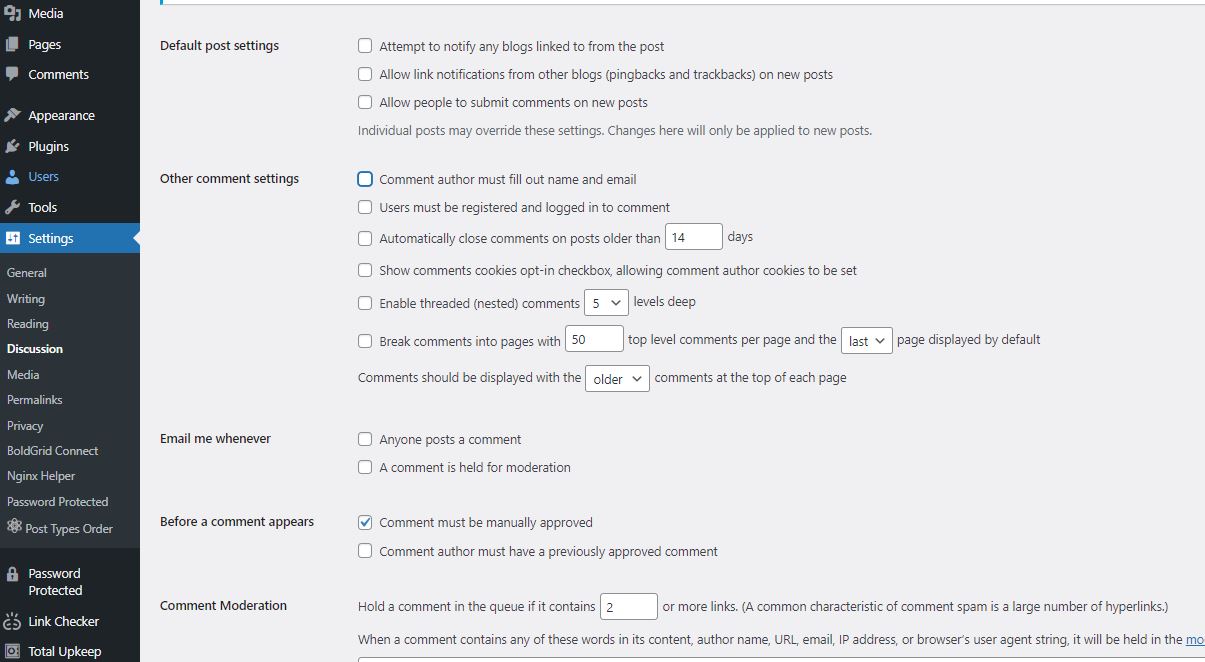
    Settings/ Discussion

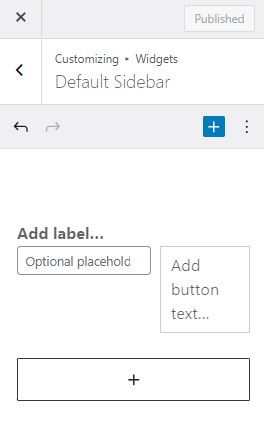
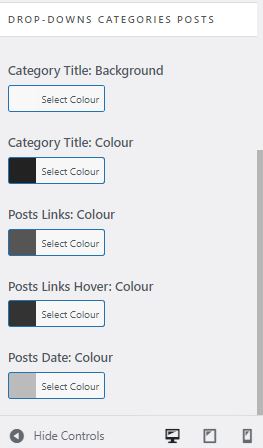
    Appearance/Customize/Widgets/Default Sidebar
    This is where you can add elements and alter the order of elements in the sidebar. I find the admin design clunky and unintuitive but I eventually discovered how to do it, use the edit icon and three vertical buttons to add and subtract elements (search is not added and removed from the sidebar here for example).
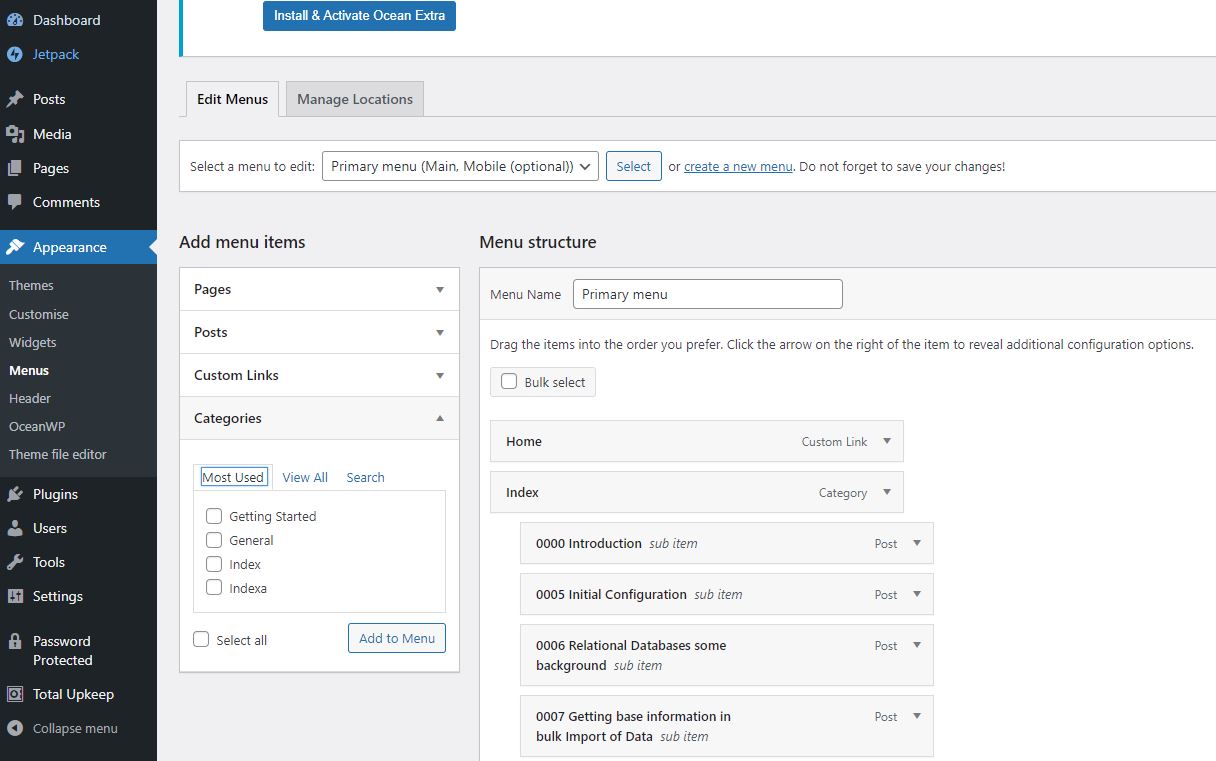
    Appearance / Menus
    I set up a menu called Primary Menu and add Home and Index to it as follows. Note that Home is a Custom Link and Index is a Category Link. Note if Home is not available you can create it and then add it.. the url link will just be the default domain.

    Appearance / Widgets

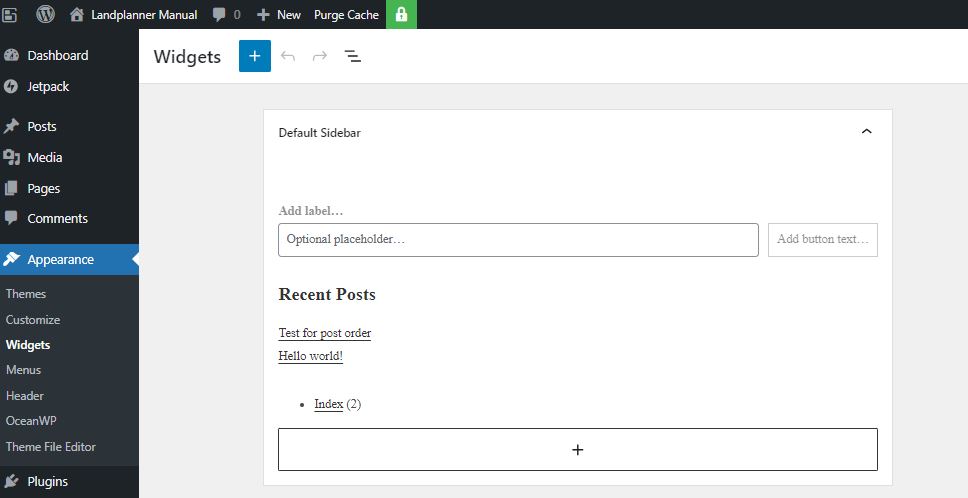
    You can highlight recent comments and delete the entire block – I also add the category list to the side bar

    Appearance / Customise / General Options
    – Layout Style – Separate

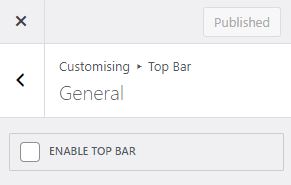
    Appearance / Customise / Top Bar / General
    Turn off Top bar by ensuring the ENABLE TOP BAR tick box is blank

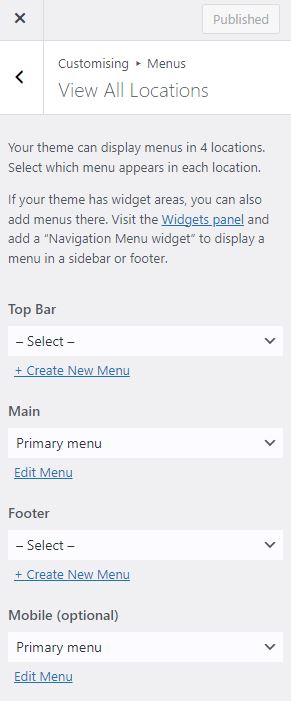
    Appearance / Customise / Menus
    Here I am ensuring the menus are not repeated. In OceanWP there are four places where you can place menus. I turn off Top Bar and I don’t like the Menu being in the footer so I leave both at the default blank -Select-

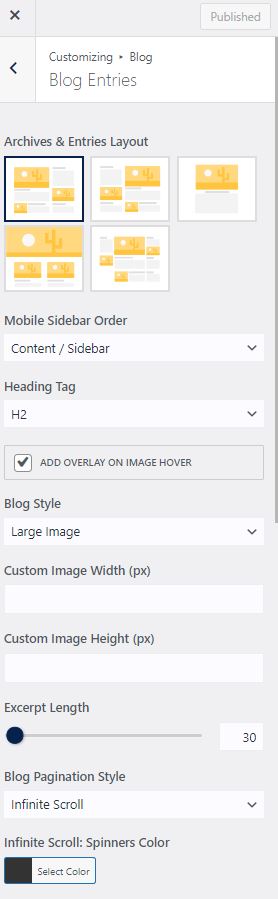
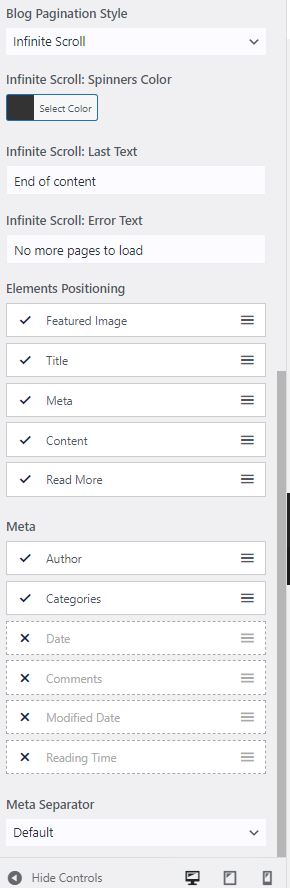
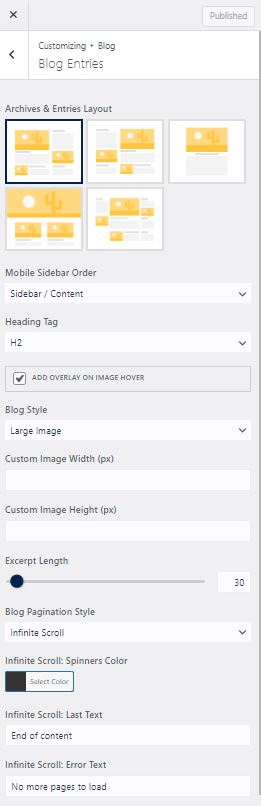
    Appearance / Customise / Blog
    We are given two options here – Blog which is the overall and Single Posts. I will normally remove the sidepanel for the single posts and I am still considering whether I should remove the side panel for the full list of posts, either way you do both here.

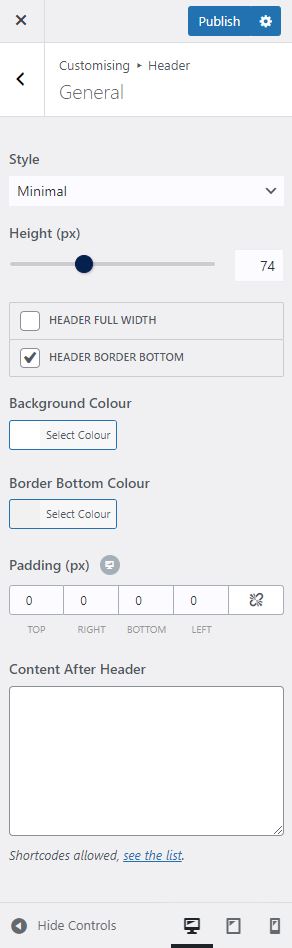
    Appearance / Customise / Header / General
    I haven’t experimented with all the different options but one that seems to work is Minimal so these are the settings

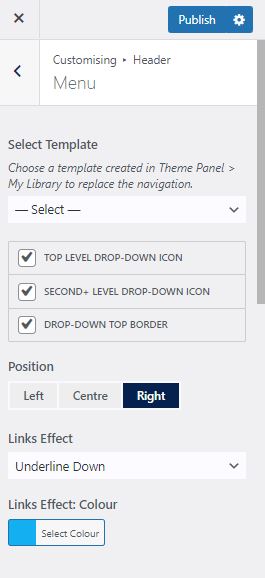
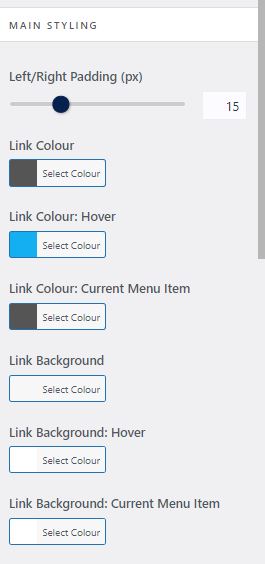
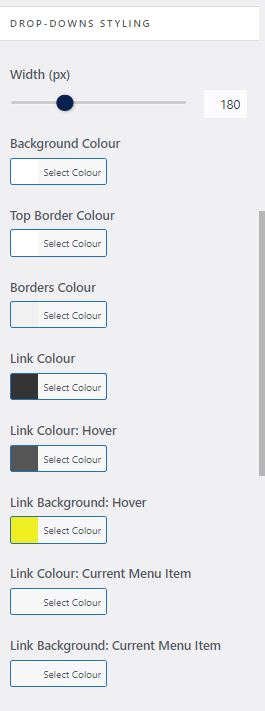
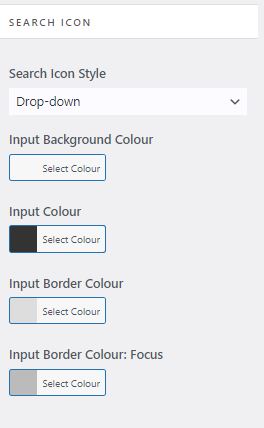
    Appearance / Customise / Header / Menu
    Again there are a lot of options here and not all seem to work or seem to be intuitive so I have settled on the following

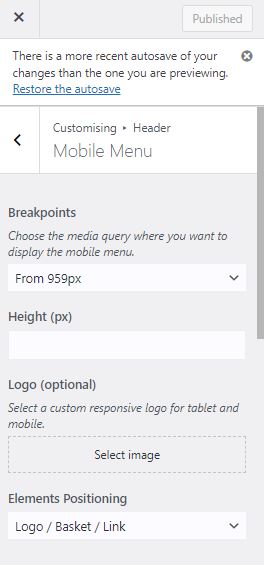
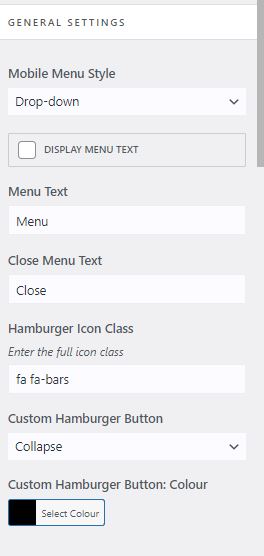
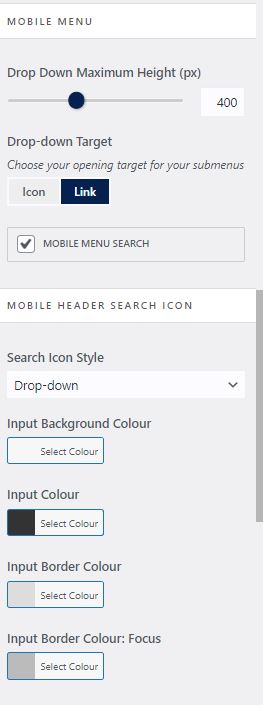
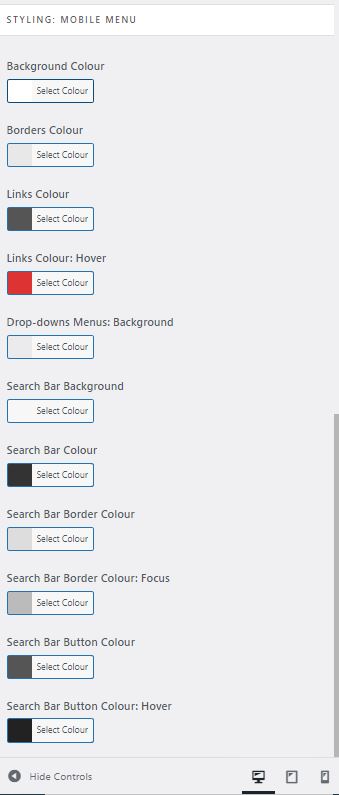
    Appearance / Customise / Header / Mobile Menu
    Again a lot of options but here are a set that I am happy with and work. It should be noted see the drop down Elements Positioning it likes to have the Logo at the front otherwise the magnifying glass can disappear. Note if you change it there is sometime lag on display this might be related to your hosting provider and caching (not sure)

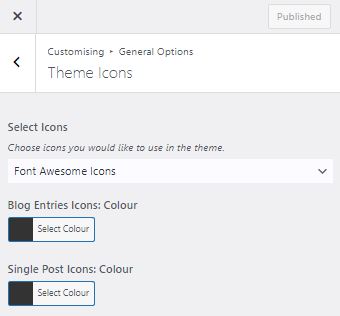
    Appearance / Customise / General Options / Theme Icons
    I like to set to Font Awesome

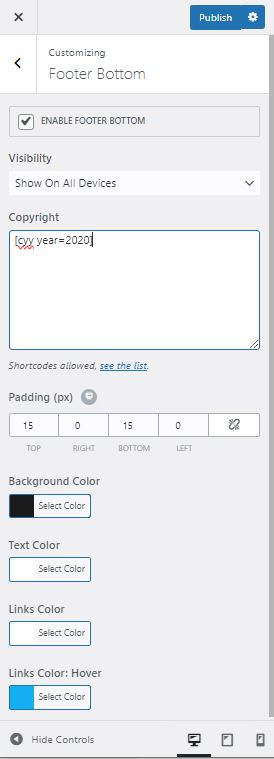
    Appearance / Customise / Footer Bottom
    A nice touch to ensure that copyright is Set – here we use the shortcode from the plugin

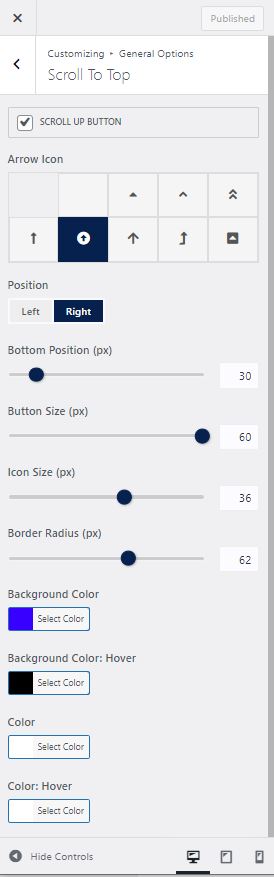
    Appearance / Customise / General Options / Scroll to Top
    If you haven’t installed a Sticky Header this can be a reasonable alternative OceanWP specific

    Next lets make sure the search box is above content on mobile devices I like this as it makes it really obvious to users on mobiles about how to use the search facility. The search facility to my mind being one of the most important things in a wordpress site. I also like infinite scroll.

    I’ve pretty much documented everything here – I haven’t touched the logo which is how you get the icon on a site which is also something you are going to do. I will come back to this post and add that when I am doing that in anger for a demonstration site. Remember if you are reading this that these options are relevant to WordPress with the Free theme of OceanWP installed at October 2023.

    SQL Azure (Basic notes on backup operation)

    If you are running things on the cloud you always want to be thinking about backups and ensure that you are really aware of what is happening with backups and how to restore from backups. You should regularly check what is happening with backups and regularly practice restoring databases.

    Basic / Standard and Premium SQL Azure has two basic options for restore.

    Point in Time Restore and
    Long Term Retention

    They perform the same task – they collect old databases that can be used to restore to a server if need be but what varies in the UI by which you restore them.

    First point – Long Term Retention Policy is attached to the server and you go into it by first navigating to your server and then looking to the left hand section marked as Data management.

    Select Backups and you will be presented with a list of all the long term backups of the databases on that server. The following are a couple of basic dtu databases and what can bee seen on the fictional server 01SeverName

    In the above table you can see that Long Term Retention policy has NOT been set. How do you change this.

    Firstly ensure that you are on the retention policies tab and then tick the particular database you would like to set the retention policy for in the lower section this will allow you to Configure a policy for that particular database.

    Here are the options for a BASIC DTU database

    Compare this with the options for a database in the Standard Tier

    Set it up and then hit apply and you should be good to go.

    cPanel – take a manual backup of a MariaDB / MySQL database

    There are no shortages of articles on how to take a backup of a MySQL or MariaDB database from cPanel however given how important it is I like to write these things down showing how I accomplished this for my own reference. Its extremely easy to do a download which means that you should not have any opportunity or reason not to do it regularly if you have an important database that for instance is part of a web application.

    1. Enter your given cPanel management portal.

    2.Find the database section and select the phpMyAdmin icon.

    3.Select the database you are interested in from the lefthandside.

    4.Click export in the menu section and then its just a case of clicking go. An SQL will be downloaded to the download directory (on a windows machine). And keep this and you can run this to create a new database.

    And its very easy to go in and check if its ok you can use any good ide or you could change the suffix to TXT and then just look at it in word.
    Happy backing up.!!!

    SQL Azure – a short note on BAK and Bacpac files

    I note that for local SQL Express and I believe enterprise SQL Server there is the additional option of creating a Backup in SQL Express. I also note that from my reading Baks are considered preferable to bacpac files because they have enforced ACID compliance and that for large databases that are constantly being used they are recommended to bacpac files. SQL Azure doesn’t allow BAK file backups through SSMS from what I can see so if this is an issue for you consider temporarily disconnecting front ends from the database while a bacpac is conducted. If you need a bak file for some reason you can attach locally to a SQL Server instance and from there take a bak file.

    Something to be aware of..

    See this link for further information
    Blobeater blog post

    SQL Azure – Export Individual Tables Using SQL Server Management Studio

    Connect to SQL Azure through SQL Server Management Studio

    Select the database that contains the table you wish to script

    Right click on the database and select Generate Scripts

    The Generate Scripts dialog should appear choose

    Choose Objects
    Select specific database objects

    Hit Next and set the location of where you wish the file to go

    Review the summary dialog to ensure you have everything correct

    Next you want to decide whether you want to include data or not in the script file

    Hit the advanced button and scroll down to Types of data to script

    If you are wanting data to be included select schema and data

    Hit the Next button and review your configuration

    Hit Next and it will start the process of exporting your table with or without data

    The dialog will update to show status of script generation

    You will now be able to navigate to the script and open it in an editor of your choice to double check that things look ok.

    Here I show a script that includes data – note you can’t see all of the insert information because the script is rather wide but I assure you it is there at the bottom.

    MS Access Function : Automate Normalisation or De-concatenate a field (MS Outlook export example)

    I was contemplating a better way of storing our old emails and unhappy with some of the systems in place I started considering whether I could dump them into a database.

    Thing is when you export from Outlook some of the standard fields in particular To and From are concatenated. Wouldn’t it be nice to separate those fields into their own table of names and addresses and reference them back to a main table of messages.

    This is what I came up with.

    For demonstrations purposes I will use two tables

    t001parent
    pkid - autonumber primary key
    ccaddresses - memo or long text

    and the child table

    t002newchildren
    pkid - autonumber primary key
    ccaddress - string(150 should do it)
    pkidt001 - number

    and here is the blank second table

    Next we create a user defined function

    Public Function CreateChildTable()
    
        Dim db          As DAO.Database
        Dim rs          As DAO.Recordset
        Dim rsTarget    As DAO.Recordset
    
        Dim strSQL      As String
        Dim strField1   As String
        Dim strField2   As String
        Dim varData     As Variant
        Dim i           As Integer
        Dim intPKID     As Integer
    
        Set db = CurrentDb
    
        'Select all the ccaddresses from the parent table
        strSQL = "SELECT pkid,ccaddresses FROM t001parent"
    
        Set rsTarget = db.OpenRecordset("t002newchildren", dbOpenDynaset, dbAppendOnly)
    
        Set rs = db.OpenRecordset(strSQL, dbOpenDynaset)
        With rs
            While Not .EOF
                intPKID = !pkid
                varData = Split(!ccaddresses, ";") ' Get all semi colon delimited fields
                   
                'add email addresses if there is only one email address there
                With rsTarget
                .AddNew
                !ccaddresss = Trim(varData(0)) ' remove spaces before writing new fields
                !pkidt001 = intPKID
                .Update
                End With
                
    
                'loop through addtional email addresses and add them as children to table
                For i = 1 To UBound(varData)
                    With rsTarget
                        .AddNew
                        !ccaddresss = Trim(varData(i)) ' remove spaces before writing new fields
                        !pkidt001 = intPKID
                        .Update
                    End With
                Next
                .MoveNext
            Wend
    
            .Close
            rsTarget.Close
    
        End With
    
        Set rsTarget = Nothing
        Set rs = Nothing
        db.Close
        Set db = Nothing
    
    End Function
    

    After running this we should

    We’ve just nicely split the parent table ccaddesses field into constituent emails and normalised it as a child of the parent table.

    MS SQL Azure – Take Complete Backup of Azure Database (Structure and Data)

    SQL Azure as part of the service offers a number of differing back up options as standard – however you may wish to take additional backups which for instance you can load onto a local version of SQL Server (Express or Enterprise). Here’s a quick rundown of one method of doing this.

    Firstly open up your version of SQL Server Management Studio and navigate to the instance and database that you wish to backup

    Highlight the database in this case DB001 and right click -Select Tasks and Export Data-Tier Application

    Choose an appropriate location to put the backup file

    Review the summary of items that will be backed up and then hit Finish

    There will be a run down of how the export has worked

    And just a check to see the exported file in the directory

    Using Task Scheduler and Visual Basic Scripts to automate pretty much anything Win 7

    This is hardly ground breaking but windows Task Scheduler can be used to run VBS scripts on a variety of events to automate repetitive and boring tasks. Backups for example or refreshing caches on web browsers before users come in.

    Hit Window button

    Type “Task Scheduler”

    Press return you should get the following screen.

    Schedule1

    Make sure Task Schedule Library is selected in the tree on the left then within Actions sub window on the right click Create

    Schedule2

    Give the Task a name in the area above marked with a red arrow and then go to the actions Tab where you can use the New… button to navigate to the vbs file you wish to run.

    Schedule3

    Next use the browse button OR if you know the path and file name simply type in the path to your visual basic script you would like to run. Here I have put in an imaginary backup script. Next go to the Trigger tab and again hit the New… tab

    The Begin Task selection list gives a good indication of when you want to trigger whatever tasks.

    Schedule4

    If we continue with the theme and run a vbs script to do a backup at 11:48 everyday

    Schedule5